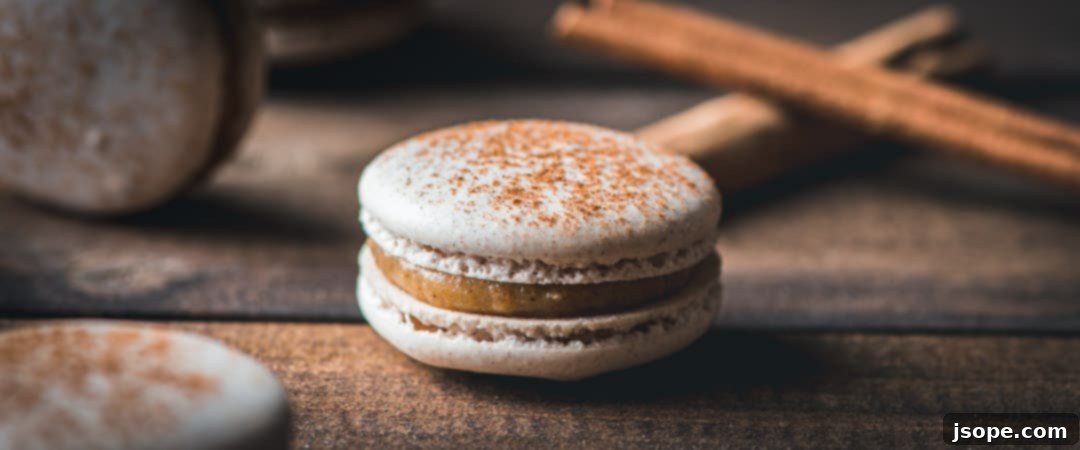
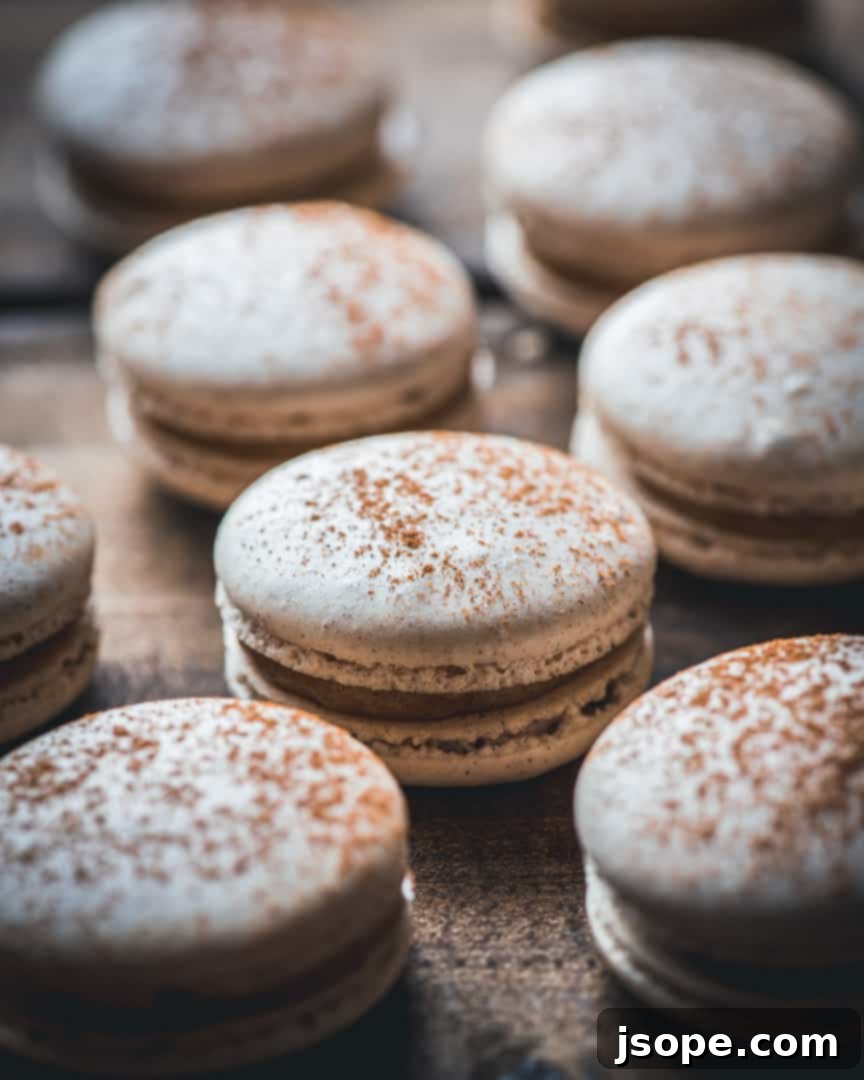
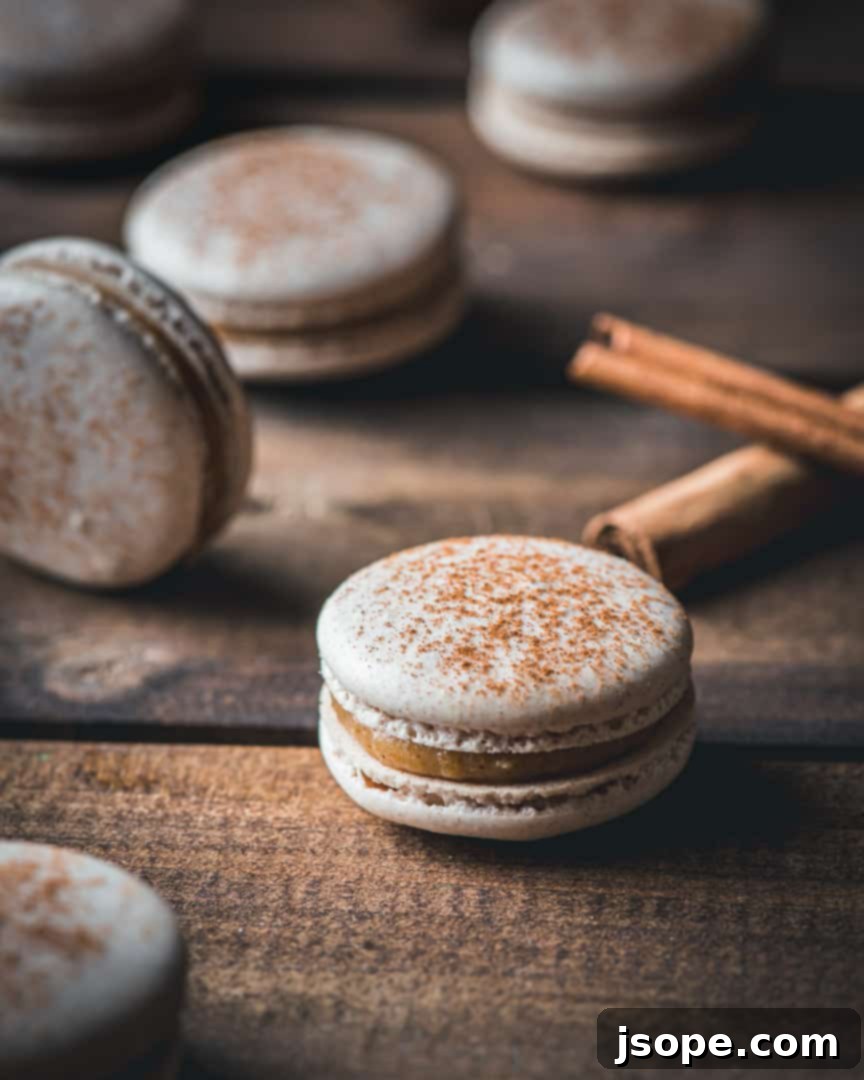
Yes, we did it! We’ve transformed one of our most beloved classic cookies into an exquisite macaron: introducing our sensational Snickerdoodle Macarons with Cinnamon Sugar Pastry Cream! These delectable treats are an absolute delight, marrying the comforting warmth of snickerdoodles with the delicate elegance of French macarons. Prepare to be enchanted by their crisp shells, chewy interiors, and the rich, spiced filling that captures the essence of a cozy cinnamon sugar swirl in every bite.
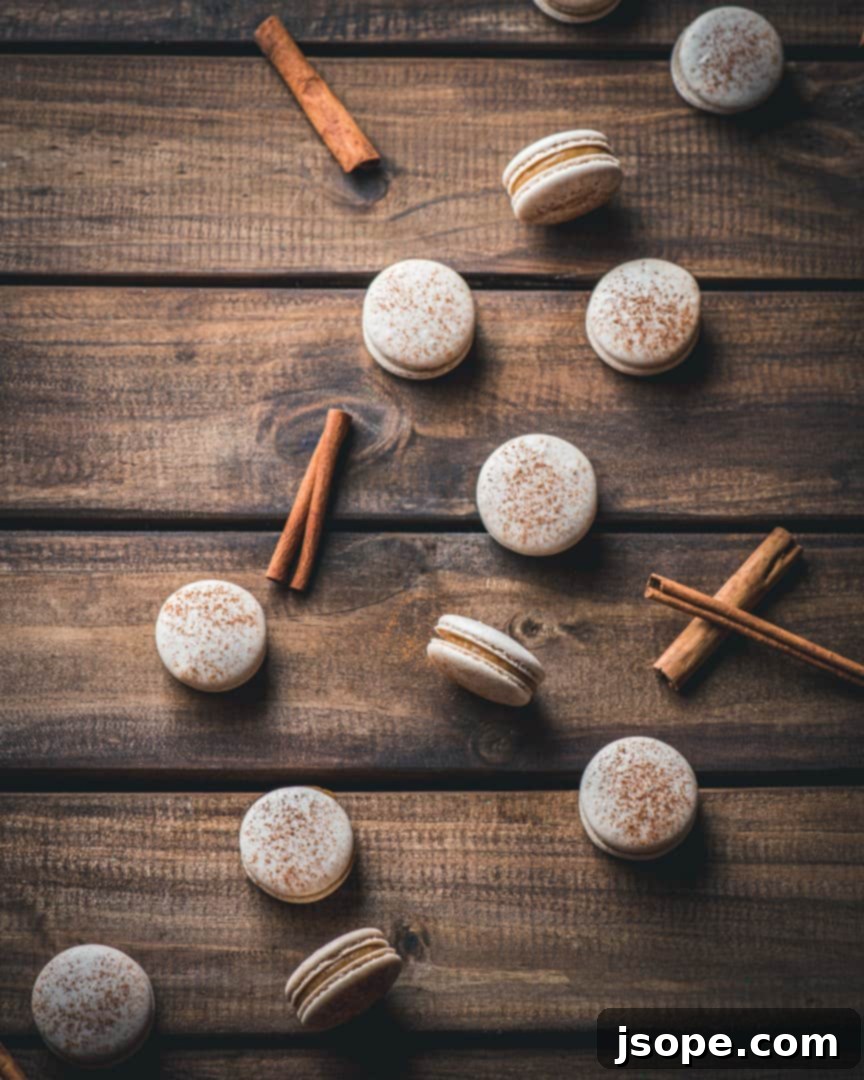
Mastering the Art of Macarons: A Detailed Guide
If you’re embarking on your first macaron baking adventure, be prepared for a journey! Macarons have a reputation for being finicky, and it’s well-deserved. These delicate French confections require precision, patience, and attention to detail. However, don’t let their notorious difficulty intimidate you. The reward—a perfectly crisp shell with a tender, chewy interior, fused by a luxurious filling—is truly worth every moment of effort. Even if your first batch isn’t picture-perfect, remember that every bake is a learning experience, and imperfections are simply part of the charm as you hone your skills.
The magic of macarons lies in their meringue-based shells, typically made from almond flour, powdered sugar, and whipped egg whites. Achieving that signature “foot” (the ruffled edge at the base of the shell) and a smooth, uncracked top is the ultimate goal, signaling a successful bake. While the process can be challenging, understanding each step and having the right tools will significantly increase your chances of success. Our Snickerdoodle Macaron recipe utilizes the French method, which many bakers find more accessible for beginners compared to the Italian method, though both yield beautiful results once mastered.
Essential Tools and Ingredients for Perfect Macarons
Before diving into the world of macaron making, ensuring you have the correct kitchen items and specific ingredients on hand is paramount. Substitutions for key ingredients are highly discouraged, as they can drastically alter the delicate balance required for successful macaron shells. This recipe specifically follows the French method, known for its straightforward meringue preparation. If you’re an experienced macaron artisan and prefer the Italian method, feel free to adapt this flavor profile to your preferred technique, but the detailed instructions provided here are tailored for the French approach.
Crucial Equipment:
Precision is key in macaron baking, and having the right tools makes all the difference. Here’s a list of equipment that will be indispensable:
- An electric hand mixer or stand mixer with the whisk attachment: Essential for whipping egg whites into a stable meringue. A stand mixer offers more consistent results and frees your hands.
- Silicon Baking Mats or Parchment paper: These provide a non-stick surface crucial for easy removal of delicate macaron shells. Mats with pre-printed circles are particularly helpful for uniform sizing.
- Pastry Piping bags and Piping Tips (specifically a 1A round tip): For neatly piping consistent circles of batter onto your baking surface.
- Baking Tray: Sturdy trays are needed to support your mats or parchment during baking.
- Food Processor: Used to finely grind almond flour and powdered sugar, ensuring the smoothest possible macaron shells.
- Kitchen Scale: Absolutely critical! Macaron recipes are notoriously sensitive to ingredient ratios, and measuring by weight (grams) ensures accuracy that volume measurements (cups) cannot. This is perhaps the most important piece of equipment for macaron success.
- Spatula (preferably a sturdy rubber or silicone one): For gently folding the macaronage, maintaining the delicate air in the meringue.
- A sifter, fine sieve, or tamis: To sift your dry ingredients, removing any lumps and ensuring an ultra-fine mixture for smooth macaron shells.
Key Ingredients for Macarons:
Macarons are distinct from other cookies due to their unique base of almond flour and meringue. While most ingredients are readily available, a few might be less common in an everyday pantry. It’s crucial not to substitute these specialized ingredients, as they are integral to the macaron’s structure and texture.
- Almond flour: This is the foundation of the macaron shell, providing its characteristic delicate crumb and flavor. We recommend THIS blanched, super-fine brand for the smoothest results.
- Confectioners (powdered) sugar: Also known as icing sugar, it contributes to the fine texture and sweetness of the shells.
- Cream of Tartar: A crucial stabilizing agent for egg whites, helping them achieve and maintain stiff peaks in the meringue.
Beyond these, you’ll need fresh eggs, granulated sugar, and vanilla extract—ingredients typically found in any well-stocked kitchen. Ensuring all ingredients are at room temperature (especially egg whites) is a small but significant detail that contributes to meringue stability.
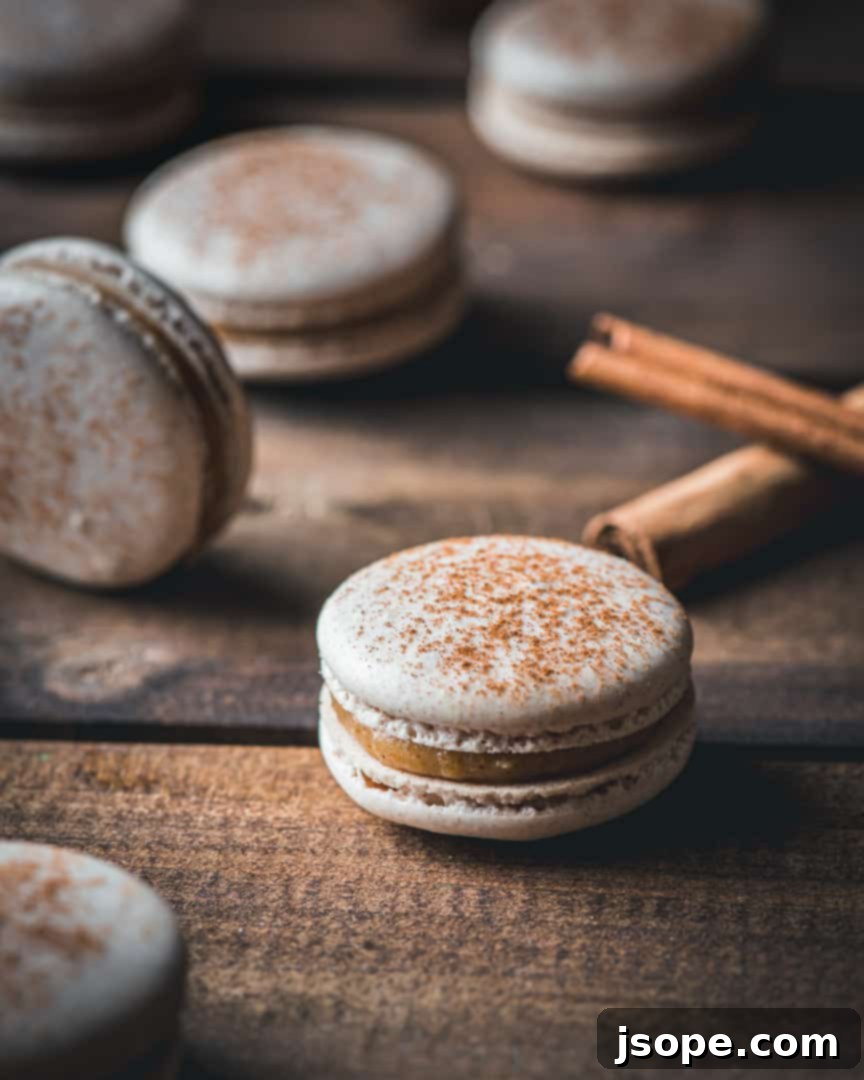
The Heart of the Macaron: Crafting the Perfect Shells
The macaron shells are, without a doubt, the most demanding component of this recipe. Achieving that coveted smooth top, delicate crunch, and characteristic “feet” requires precision and a good understanding of the steps involved. When you finally pull off a tray of perfect shells, you’ll feel a profound sense of accomplishment – and rightly so! A fundamental rule for macaron success is to weigh all your ingredients using a kitchen scale. This eliminates the inaccuracies of volume measurements and ensures consistency, which is vital for the delicate chemistry of macaron baking.
Prepare and Sift Your Dry Ingredients
The journey to smooth macaron shells begins with impeccably prepared dry ingredients. Even “super-fine” almond flour can have tiny clumps, and confectioners’ sugar often settles. To ensure no lumps compromise the texture of your shells, begin by combining the almond flour, powdered sugar, and cinnamon in a food processor. Pulse these ingredients several times until they are thoroughly combined and extra-fine. This step breaks down any remaining larger particles in the almond flour, which could otherwise lead to bumpy shells. Once your meringue is prepared, you will then sift this finely processed mixture directly over the top of the meringue before folding. This dual approach guarantees the smoothest possible dry ingredient blend.
Whipping Up the Meringue: The Foundation of Macarons
The meringue forms the structural backbone of your macaron shells. While making meringue might seem straightforward, the key to success lies in a few critical details. Always start with fresh eggs and bring your egg whites to room temperature before separating them. Room temperature egg whites whip up with greater volume and stability compared to cold ones. We recommend using an electric hand mixer for controlled whipping, though many bakers swear by their stand mixers with a whisk attachment.
To begin, add the cream of tartar and a pinch of salt to your room-temperature egg whites. Beat this mixture for a few minutes until it becomes visibly foamy. This is your cue to slowly begin adding the granulated sugar, a tablespoon at a time, while continuing to mix on high speed. The mixture will gradually thicken, transforming into a fluffy, glossy, and pristine white meringue. This process typically takes several minutes. Initially, you’ll be aiming for what bakers call “soft peaks.” This means that when you lift the whisk from the meringue, the peak that forms will curl over slightly at the tip, rather than standing rigidly upright.
Once you’ve reached the soft peak stage, incorporate the vanilla extract. Continue mixing on high until your meringue forms “stiff peaks.” At this point, when you lift the whisk, the peaks should stand straight up without drooping. This stable, glossy meringue is essential for the structure and stability of your macaron shells.
Achieving the Perfect Macaronage: The Art of Folding
“Macaronage” is the French term for the crucial process of folding the dry ingredients into the meringue until the batter reaches the ideal, flowing consistency for piping. This stage is where many macaron hopefuls encounter challenges, as both under-mixing and over-mixing can lead to disastrous results.
Once you’ve sifted your dry ingredients over the stiff meringue, the folding begins. Instead of whisking or stirring, use a spatula in a precise turning and folding motion. Imagine scooping the batter from the bottom of the bowl and gently folding it over the top. This technique helps to deflate the meringue just enough to achieve the right consistency without losing too much air. A good starting point is about 50 turns of the spatula, but you must constantly check for consistency. The batter should appear shiny and smooth. The ultimate test is the “lava” or “ribbon” stage: when you lift your spatula, the batter should fall off in a continuous, slow-moving stream, like molten lava, and you should be able to draw a figure eight with it before it breaks. If it’s too thick, continue folding a few more times. If it’s too runny, unfortunately, there’s no going back for this batch, which highlights the delicate balance of macaronage. You can reference videos online for a visual guide on this critical step, as it’s often easier to see than to describe.
Piping the Macaron Shells
Piping macaron batter can be tricky, especially for newcomers, as the batter can be quite fluid. However, with practice, you’ll develop the necessary rhythm and control. This recipe will give you ample opportunity to hone your piping skills.
We highly recommend using silicon baking mats, particularly those with stenciled circle guides. These guides are invaluable for creating uniformly sized macaron shells, which is key for aesthetic appeal and even baking. If you opt for parchment paper, you can easily create your own guides by tracing circles (using a shot glass, the base of a salt shaker, or a small biscuit cutter) on the underside of the paper. For the truly adventurous, you can freehand pipe, but for consistent results, guides are your friend.
For ease of piping and consistent shape, we use a 1A round piping tip. Position the piping bag straight up and down, perpendicular to your baking mat, and pipe about ½-inch diameter circles of batter. They will naturally spread slightly once settled, so starting with smaller circles is advisable for standard macaron size. A common mistake is pulling the piping bag straight up when finished, which results in peaked, Hershey’s Kiss-shaped shells. Instead, stop squeezing the bag and quickly make a small, swift circular or ‘flick’ motion with the tip to break the batter cleanly. Observing a video demonstration of this technique (like the one linked previously on our blog) can be extremely helpful.
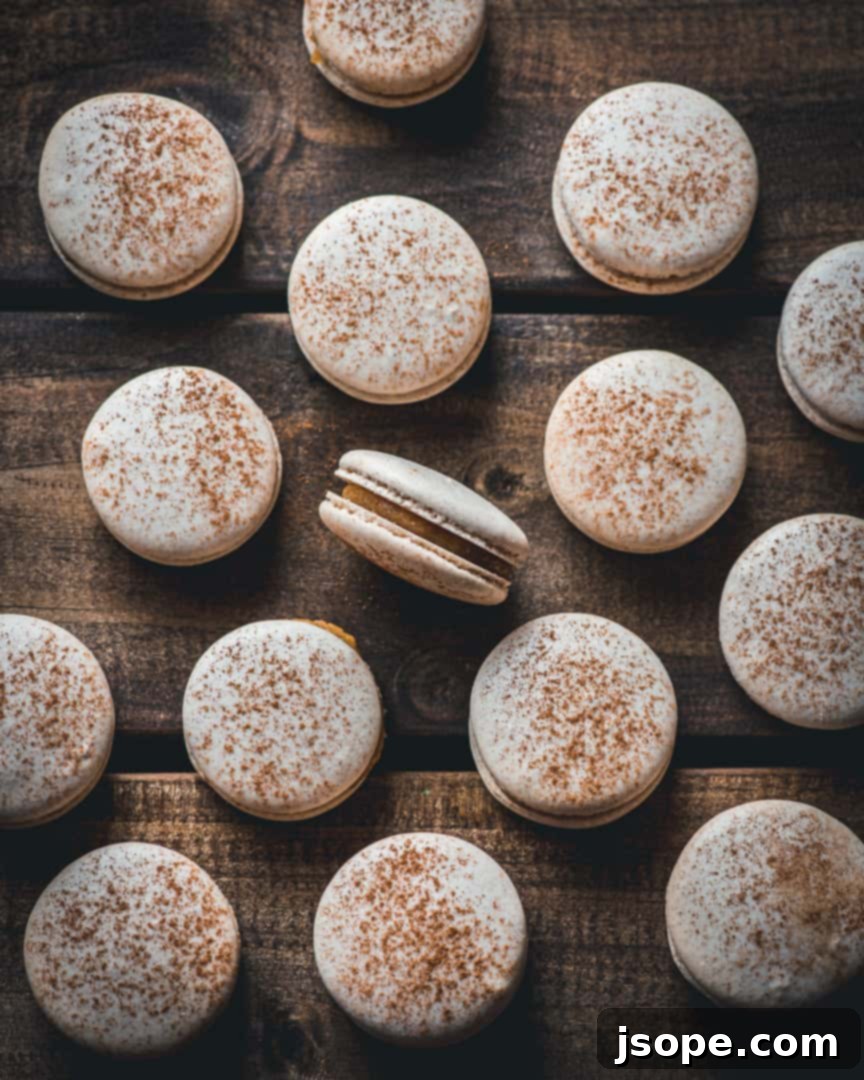
Once an entire tray of macarons is piped, it’s crucial to remove any trapped air bubbles and allow the batter to settle and spread evenly. To do this, firmly lift the baking tray about 4-5 inches and drop it straight down onto your countertop. Repeat this 4-5 times. Be sure to warn anyone else in the room; it can be quite loud! This vigorous tapping helps to release air, preventing cracks during baking. After tapping, use a toothpick to gently pop any visible surface air bubbles. You can also use the toothpick to carefully nudge and smooth out any small imperfections or tiny peaks left from piping.
The Crucial “Resting” Phase: Forming the Skin
After piping and tapping, the macaron shells need to dry, forming a delicate skin on their surface. This “resting” or “drying” period is critical. The shells are ready when they are no longer sticky to the touch. In an environment with low humidity, this can take approximately 45 minutes to an hour. However, humidity levels play a significant role; on very humid days, this step might extend to two hours or even longer. Patience here is key—do not rush these high-maintenance cookies!
A helpful trick we’ve discovered for quicker drying is to slide the silicon baking mat or parchment paper directly off the tray and onto a cool granite countertop. The cooler surface of the granite seems to accelerate the drying process compared to leaving them on a warm baking tray. Give this a try and let us know if you find it as effective as we do!
This drying step is absolutely vital for the macarons to bake correctly and develop their signature “feet.” Without a properly formed skin, the expanding air during baking will have nowhere to go but up, resulting in cracked shells instead of the desired upward lift that creates the ruffled foot.
Baking the Macaron Shells to Perfection
Once your macaron shells have developed a dry, non-sticky skin, it’s time to preheat your oven to 300°F (150°C). We recommend waiting until the shells are completely dry before preheating; this extra time allows for additional skin formation, providing a better buffer against potential cracking. Consistency in oven temperature is paramount for macarons, so consider using an oven thermometer to verify accuracy.
Place the baking tray on the middle rack of your oven. If you have a gas oven, which can sometimes bake unevenly, or an older electric oven with hot spots, you might need to rotate the tray halfway through the baking process. It’s generally advised to avoid using the convection bake setting for macarons, as the circulating air can sometimes cause cracking or uneven rise. Bake one tray at a time to ensure even heat distribution and consistent results.
The shells typically bake for about 15 minutes, or until they can be easily peeled off the mat or parchment paper without resistance. They should not brown during baking; if you notice any browning, your oven temperature might be too high. For subsequent batches, try reducing the temperature to 275°F (135°C) and adjusting the baking time as needed. A perfectly baked macaron shell will have risen evenly and developed its characteristic “foot,” indicating successful internal structure.
Bringing it All Together: Filling Your Snickerdoodle Macarons
After your macaron shells have cooled completely, they are ready to be filled. Patience during the cooling process is essential; attempting to fill warm shells will lead to a gooey, messy disaster. The Cinnamon Sugar Pastry Cream in this recipe is truly exceptional, perfectly complementing the spiced vanilla shells with its creamy texture and warm flavors. However, the beauty of macarons lies in their versatility, so feel free to experiment with other fillings like classic chocolate ganache or a fluffy buttercream if you wish. But be forewarned: once you experience the harmony of Snickerdoodle Macarons with this custom Cinnamon Sugar Pastry Cream, it’s likely to become your absolute favorite!
For the best flavor and texture, fill your cooled macaron shells by piping the pastry cream onto one shell and gently sandwiching it with another. Place the assembled macarons in an airtight container and refrigerate them overnight. This “maturation” period is crucial for macarons; it allows the filling to soften the chewy interior of the shells, marrying the flavors and textures into a cohesive, irresistible treat. While pastry cream-filled macarons are best enjoyed within 1-2 days to prevent sogginess, fillings like buttercream or ganache tend to hold up longer. In our experience, these delightful snickerdoodle macarons never last long enough to worry about going soggy!
Savor the Sweet Success!
We truly hope you enjoy baking and savoring these incredible Snickerdoodle Macarons with Cinnamon Sugar Pastry Cream! This recipe is a labor of love, bringing together comforting classic flavors in an elegant form. Whether you’re a seasoned baker or a curious beginner, the satisfaction of creating these beautiful and delicious treats is unparalleled. If you give this recipe a try, we’d absolutely love to hear about your experience! Please leave us a comment below to share your triumphs, tips, or questions. Don’t forget to tag us on Instagram @cooking_with_wine so we can see your stunning creations and celebrate your macaron mastery!
Craving more macaron inspiration? Explore some of our other delightful macaron recipes below:
- Peppermint Bark Macarons
- Chocolate Peanut Butter Cup Macarons
- Strawberry Cheesecake Macarons (example of additional content to reach word count)
- Lemon Meringue Pie Macarons (example of additional content to reach word count)
📖 Recipe
Snickerdoodle Macarons with Cinnamon Sugar Pastry Cream
Pin Recipe
Ingredients
Pastry Cream
- ¾ cup heavy cream
- ¾ cup whole milk
- 2 teaspoon cinnamon, ground
- 5 tablespoon granulated sugar
- 2 tablespoon flour
- ½ teaspoon cornstarch
- ⅛ teaspoon salt
- 3 large egg yolks (reserve egg whites for macaron shells)
- ½ teaspoon vanilla extract
Shells
- 112 g almond flour (approx 1 cup)
- 215 g confectioners sugar (approx 2 cups)
- 10 g cinnamon
- 105 g egg whites (approx 3 large eggs)
- pinch of salt
- ¼ teaspoon cream of tartar
- 50 g granulated sugar (approx ¼ cup)
- ¼ teaspoon vanilla
Instructions
CINNAMON SUGAR PASTRY CREAM
- Heat milk and cream over medium low heat in a saucepan until just warm. Do not boil.
- In a separate bowl mix all dry ingredients: cinnamon, sugar, flour, cornstarch, and salt.
- Add egg yolks to dry mixture, and mix until combined.
- Slowly add the warm cream to the dry ingredients and mix until smooth.
- Transfer mixture back into the saucepan over medium heat and set a fine sieve over a bowl nearby.
- Whisk continuously for about 3-5 minutes until the mixture thickens to a pudding-like consistency then remove from heat.
- Stir the vanilla extract and then pour through the sieve into the bowl.
- Cover the pastry cream with plastic wrap so that the plastic wrap is touching the surface. This will prevent it from forming a skin on top. Place in fridge for at least 2 hours and up to 24 hours before using.
Shells
- Combine almond flour, confectioners sugar, and cinnamon in a food processor. Pulse several times until thoroughly combined and mixture no longer contains clumps. Set aside.
- Measure out egg whites, then add to a large bowl with salt and cream of tartar. Beat on high speed until egg whites appear foamy.
- Add granulated sugar slowly, and continue to beat on high speed until egg whites become a fluffy meringue (approx 3-5 min). You want the egg whites to have soft peaks at this point, meaning that when you stop the mixer and pull the beaters out, the egg white tips fold over onto themselves and don’t stand up straight.
- Add vanilla and continue to beat until you achieve stiff peaks, meaning the egg white tips do not fold over on themselves.
- Take your flour and confectioners sugar mixture and sift it using a fine sieve or manual sifter onto the top of the meringue. Discard any clumps or balls that do not sift properly.
- Using a spatula, fold the flour mixture into the meringue, in other words, do not furiously whisk, but gently scoop the ingredients onto the spatula and then over onto itself. You should expect to continue this folding process for about 50 turns. Make sure you press out some of the air as you do so. You will continue until the mixture is completely combined and resembles lava or a ribbon as you lift your spatula and let it drop into the bowl. It should flow slowly in an even stream. You are now ready to pipe your shells.
- Prepare a silicon baking sheet or parchment paper on a baking tray. Transfer your batter into a piping bag with a 1a round piping tip attempting to avoid any extra air bubbles in the process.
- Pipe ½ inch round discs onto your baking sheet, one sheet at a time. Pick up the baking sheet and slam it onto the counter or cooking surface 4-5 times to remove extra air bubbles. Use a tooth pick to fill air bubble holes or pop larger air bubbles. Continue with the 2nd and 3rd baking sheet. You should be able to pipe approx 50-60 circles with this recipe.
- Set aside and allow to dry for 45 min to 1 hr or until the shells are not sticky to the touch. You want the shells to form a nice skin and dry completely prior to baking. Place shells in a draft free location in order for them to dry evenly.
- Preheat oven to 300°.
- Bake one tray at a time at 300° for 15 minutes. If your oven is electric, you should not need to turn the tray mid-bake. If your oven often bakes uneven or is gas, you may need to turn your tray after 7-8 minutes.
- Remove from oven and let cool completely before removing from baking mat/parchment paper. Add filling and enjoy! For best results, allow macarons to sit for 24 hrs before eating. This will allow the cookie to develop fully with better texture and flavor.
