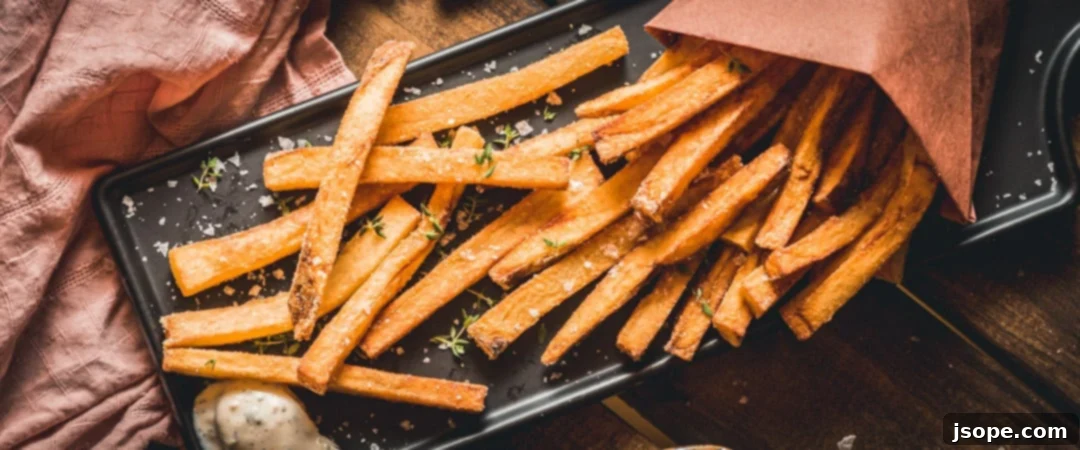
There’s an undeniable allure to crispy, golden fries, but when you elevate them with the robust flavor of garlic, they transform into an irresistible culinary delight. These homemade garlic fries are not just a simple side; they are a flavorful experience, surprisingly easy to prepare, and guaranteed to impress. Perfect alongside any meal, from a gourmet burger to a pan-seared steak, these fries offer a satisfying crunch and an explosion of savory taste. To truly complete this gastronomic journey, we pair them with our vibrant Lemony Herb Garlic Aioli, a creamy, tangy concoction that perfectly complements the rich garlic notes of the fries, creating a symphony of flavors that will undoubtedly tantalize your taste buds.
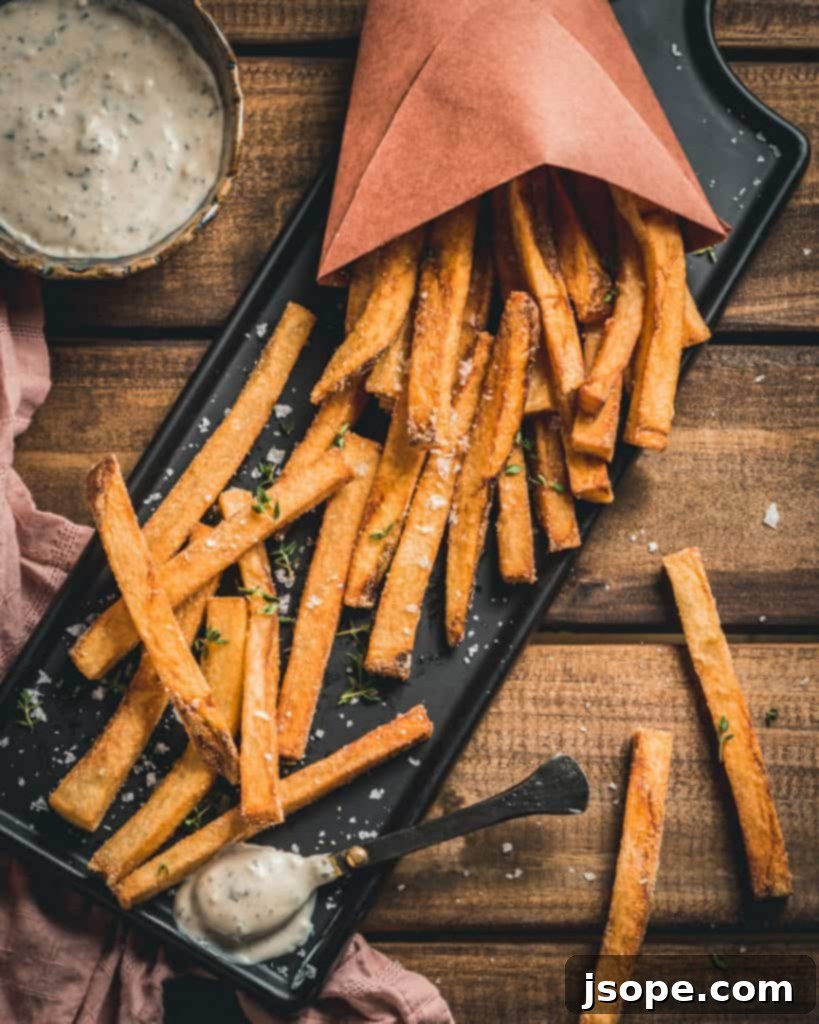
Please note: The content of this post has been sponsored by Veggie Season’s. All opinions expressed are our own.
Homemade Garlic Fries: The Ultimate Guide to Crispy, Flavorful Perfection
Few foods evoke as much universal joy as perfectly cooked fries. While often associated with fast-food chains or casual diners, the truth is that truly exceptional fries are best enjoyed when made from scratch in your own kitchen. Our recipe for Homemade Garlic Fries not only delivers on that promise of perfection but also infuses every crispy bite with an aromatic garlic punch that sets them apart. Forget bland, soggy imitations; these are the fries you’ve been dreaming of – golden, crunchy, fluffy on the inside, and bursting with savory flavor. Enhanced with a special blend of seasoning and served with a zesty aioli, they are destined to become a staple in your culinary repertoire.
A Brief History Lesson: Unraveling the True Origin of Fries
Before we dive into the delicious details of crafting these homemade delights, let’s embark on a quick journey through history to understand the fascinating origins of this beloved global snack. What incredibly versatile food item was first cultivated in the highlands of Peru thousands of years ago, later introduced to Europe by Spanish explorers, masterfully transformed into a fried dish by resourceful Belgians, and then mistakenly attributed to the French by Americans?
If you guessed potatoes, you’re absolutely correct! The humble potato, originally a staple of Andean civilizations, made its way across the Atlantic and eventually became a culinary cornerstone throughout Europe. However, the fried potato sticks we commonly know as “French Fries” in the United States actually owe their invention and perfection to Belgium. Historical records suggest that Belgians were frying thinly sliced potatoes as early as the late 17th century, especially when rivers froze over and they couldn’t catch fish to fry.
This rich heritage was officially recognized in 2014 when Belgian Fries were proudly added to the UNESCO list of cultural treasures, celebrating their deep cultural significance. So, a hearty “thank you” to Belgium for gifting the world these renowned treats! Our homemade version pays homage to this storied tradition, embracing the techniques that make Belgian fries so exceptional while adding our unique, garlicky twist.
Why Homemade Garlic Fries Are Superior (And Easier Than You Think!)
You might be wondering if making fries from scratch is worth the effort, especially when frozen options are so readily available. We’re here to tell you, emphatically, that it absolutely is! Our version is not only incredibly flavorful but also surprisingly approachable. The process isn’t as daunting as many might imagine, and the payoff in taste and texture is immense.
Homemade fries offer several distinct advantages:
- Unmatched Flavor: Freshly cut potatoes fried to perfection simply taste better. You control the quality of ingredients and the seasoning.
- Superior Texture: With our double-fry method, you’ll achieve an exterior crispness and an interior fluffiness that frozen fries can only dream of.
- Customization: Beyond garlic, you can experiment with various seasonings and dips. This recipe, in particular, shines with Veggie Season’s Roasted Garlic Butter seasoning, taking the flavor profile to an entirely new level.
- No Unwanted Additives: You know exactly what goes into your food, free from preservatives or artificial flavors often found in commercial products.
- A Fun Culinary Project: There’s a real sense of accomplishment in serving a batch of perfectly golden, crispy fries that you made yourself.
These wonderful fries are cherished globally, and with this homemade garlic version, enhanced by the exquisite Veggie Season’s Roasted Garlic Butter seasoning, you’ll understand why. We are confident you’ll adore this recipe as much as we do!
Selecting the Perfect Potato for Homemade Garlic Fries
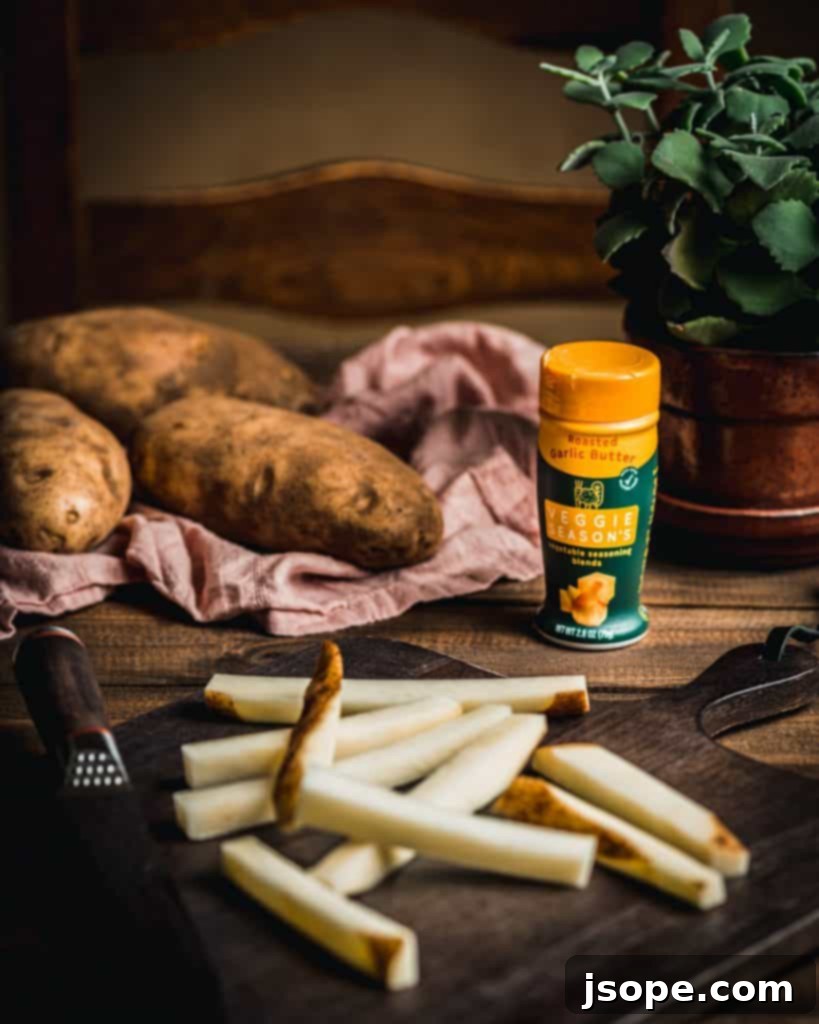
The foundation of any great fry begins with the right potato. For our Homemade Garlic Fries, we unequivocally recommend **Russet potatoes**, often referred to as Idaho potatoes. Here’s why they are the undisputed champion for this recipe:
- Fluffy Interior: Russets are high in starch and low in moisture, which means when fried, their internal structure breaks down into a light, airy, and incredibly fluffy texture. This contrast with the crispy exterior is what makes a truly perfect fry.
- Crispy Exterior: Their rough, thick skin also contributes to a sturdy fry that can achieve exceptional crispness without becoming brittle or hollow.
- Availability and Cost: Russet potatoes are widely available in most grocery stores and are typically quite inexpensive, making them a practical and economical choice for a homemade treat.
Other Potato Considerations:
- Yukon Gold: These have a medium starch content and a buttery flavor. They can make decent fries, offering a slightly creamier interior, but they might not achieve the same level of fluffiness as a Russet.
- Red or New Potatoes: These are waxy potatoes, high in moisture and low in starch. They tend to hold their shape well when cooked but will yield a denser, less fluffy fry, and won’t get as crispy on the outside. We advise against using them for this recipe.
Preparation Tips for Your Potatoes:
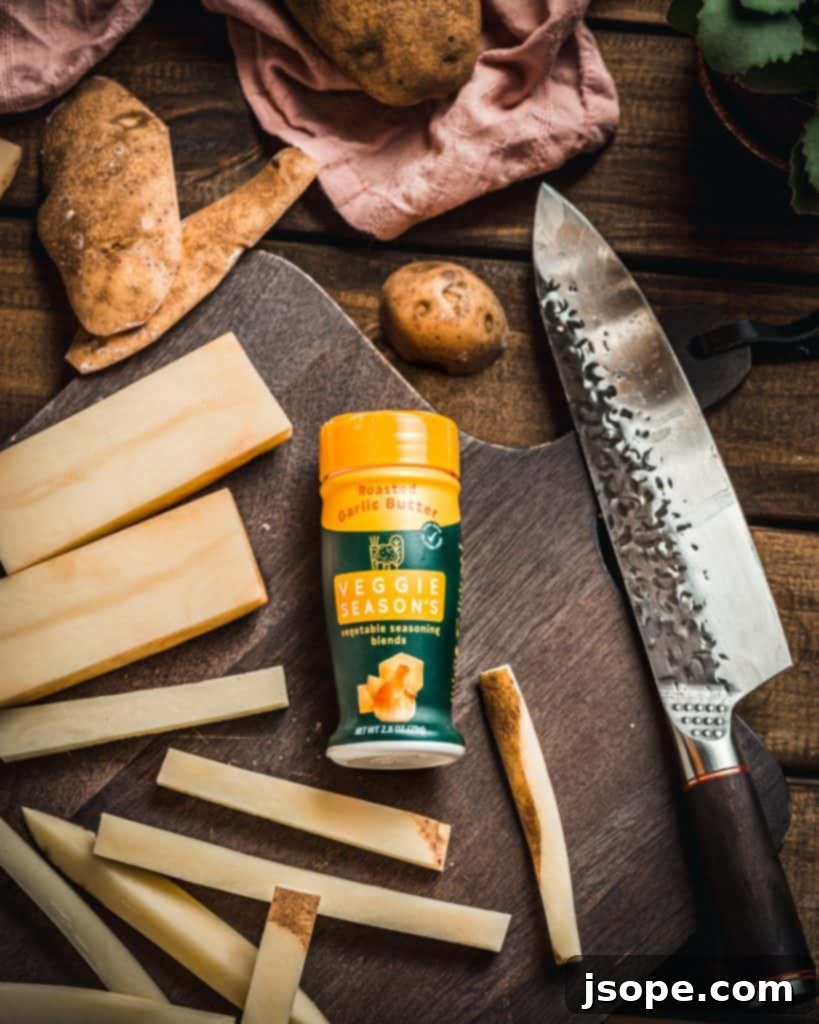
- Wash and Peel: Always start by thoroughly washing your potatoes. While some recipes keep the skin on, for classic, perfectly uniform fries, we recommend peeling the russets.
- Consistent Cutting: The key to even cooking is consistent sizing. We prefer cutting our russets lengthwise into sticks approximately ¼ inch thick. A mandoline slicer can help achieve uniformity, but a sharp knife and a steady hand work just as well. Aim for pieces that are roughly the same size to ensure they cook at the same rate.
- Soaking is Key: After cutting, transfer your potato sticks to a large bowl of cold water and let them soak for at least 30 minutes, or even up to a few hours. This step is crucial as it removes excess starch, which helps prevent the fries from sticking together and promotes maximum crispiness.
- Thorough Drying: Before frying, it is absolutely vital to dry your potatoes completely. Use a clean kitchen towel or paper towels to pat them until no moisture remains. Any residual water can cause the hot oil to splatter dangerously and will prevent your fries from achieving that coveted crisp exterior.
Choosing the Best Oil for Frying: Flavor, Heat, and Safety
The type of oil you choose for deep frying can significantly impact the final flavor, texture, and even the aroma of your homemade garlic fries. We have a clear favorite for this recipe, but it’s important to understand the properties of various oils to make an informed choice.
We highly recommend **grapeseed oil** for frying. Here’s why it stands out:
- Neutral Flavor Profile: Grapeseed oil boasts an incredibly mild, almost neutral flavor. This is crucial because it allows the natural potato flavor and, more importantly, the delicious garlic seasoning to shine through without any competing oily tastes. Unlike some oils that can impart a distinct “fried oil” aroma, grapeseed oil ensures your kitchen smells of savory potatoes and garlic, not stale oil.
- High Smoke Point: Safety and effectiveness in deep frying depend heavily on an oil’s smoke point – the temperature at which it starts to burn and break down, producing smoke and undesirable flavors. Grapeseed oil has a high smoke point, typically around 420°F (215°C), making it ideal for the high temperatures required for our double-fry method.
- Durability: This oil is remarkably stable and durable, meaning it can withstand the high heat and multiple batches of frying without rapidly degrading. This can be more economical in the long run if you plan to reuse your frying oil (after proper straining and storage).
Comparison with Other Common Frying Oils:
- Canola Oil: A widely available and less expensive alternative, canola oil also has a relatively neutral flavor and a high smoke point (around 400°F/204°C). While the texture of fries made with canola oil will be similar to those made with grapeseed, we find that grapeseed oil still offers a slightly cleaner, purer taste that lets the potato and seasoning truly take center stage.
- Peanut Oil: Another excellent choice for deep frying, peanut oil has a high smoke point (450°F/232°C) and a very clean taste. However, it is an allergen, so be mindful if serving to guests. It can also be slightly more expensive than grapeseed or canola.
- Vegetable Oil (Blends): Generic “vegetable oil” is usually a blend of different oils, often soybean, corn, or sunflower. While generally suitable for frying with a decent smoke point, their flavor profile can vary, and they may sometimes impart a heavier “fried” taste.
Ultimately, you can use your favorite high-heat vegetable fry oil, but for the optimal flavor and experience with these Homemade Garlic Fries, grapeseed oil is our top recommendation. Always prioritize safety when deep frying: ensure you have a deep pot and never leave hot oil unattended.
Mastering the Art of Homemade Garlic Fries: A Step-by-Step Guide
Now that we’ve covered the essential ingredients and equipment, it’s time to bring these incredible Homemade Garlic Fries to life. The secret to their irresistible crispness and fluffy interior lies in a classic technique: the double-fry method, a culinary gem perfected by the Belgians themselves.
1. Essential Equipment for Frying Success:
Before you begin, gather your tools:
- A Deep, Heavy-Bottomed Pot: Safety first! You’ll need a pot that is deep enough to hold at least 4 inches of oil with ample headspace. The oil will bubble up considerably when potatoes are added, so a pot that is no more than halfway full of oil is crucial to prevent dangerous overflows. A 5-quart Dutch oven is ideal for its heat retention and depth, but any large, heavy pot will suffice.
- Kitchen Thermometer: This is non-negotiable for perfectly cooked fries. Precision in oil temperature is the cornerstone of the double-fry method. We highly recommend a reliable digital kitchen thermometer or a deep-fry thermometer. Do not attempt this recipe without one!
- Spider Spatula, Tongs, or Slotted Spoon: For safely adding and removing fries from the hot oil.
- Paper Towels or Cooling Rack with Sheet Pan: For draining excess oil after each fry.
- Large Bowl: For tossing the seasoned fries.
2. The Double-Fry Secret Revealed: Two Stages to Perfection
The magic of truly crispy fries lies in cooking them twice. This method achieves two distinct goals:
- The First Fry (Blanching – 320-325° F): This lower-temperature cook thoroughly cooks the potato through, breaking down its starches and making the interior wonderfully soft and fluffy. The fries will barely develop color during this stage.
- The Second Fry (Crisping – 370-375° F): The higher temperature in the second fry rapidly evaporates any remaining moisture on the surface, creating that signature golden-brown, shatteringly crisp exterior without overcooking the perfectly tender interior.
Let’s Get Frying!
- First Fry Prep: Pour about 1 quart of grapeseed oil (or your chosen frying oil) into your deep pot. Ensure the oil is at least 4 inches deep but never more than halfway up the sides of the pot. Heat the oil to precisely 320-325° F (160-163° C). Use your thermometer to monitor this closely.
- Batch Frying (First Cook): Once the oil reaches temperature, carefully add about a handful of your thoroughly dried potato sticks to the hot oil. Avoid overcrowding the pot, as this will drastically drop the oil temperature and lead to soggy fries. You’ll likely need to work in 3-4 batches or more, depending on the quantity of potatoes.
- First Fry Duration: Allow the fries to cook for 5-7 minutes during this first stage. They should turn slightly translucent and develop the barest hint of pale color, but they should not be browned. They will appear cooked but not crispy.
- Drain and Rest: Using your spider spatula or slotted spoon, remove the fries from the oil and transfer them to a paper towel-lined plate or a cooling rack placed over a sheet pan to drain. Continue with remaining batches, ensuring the oil temperature stays consistent between 320-325° F (160-163° C). The time between the two fries isn’t critical; you can complete all first fries, and they can rest for anywhere from a few minutes to up to an hour before the second fry. This makes entertaining much easier!
- Second Fry Prep: Once all fries have completed their first cook, increase the oil temperature to 370-375° F (188-191° C). This higher heat is where the magic crisping happens.
- Batch Frying (Second Cook): Carefully return the blanched fries to the hot oil, again working in small batches to maintain temperature. Fry for approximately 2-3 minutes. Keep a close eye on them; you’re looking for a beautiful golden-brown color and an audibly crisp exterior.
- Final Drain & Immediate Seasoning: As soon as the fries achieve their desired crispness and golden hue, remove them from the oil. Briefly place them on a clean towel or cooling rack for no more than 30 seconds to allow any surface oil to drain. Immediately transfer the hot fries to a large bowl, add your preferred garlic seasoning (we swear by Veggie Season’s Roasted Garlic Butter Seasoning!), and toss vigorously to ensure every single fry is evenly coated.
Elevating Flavor: The Magic of Veggie Season’s Blends
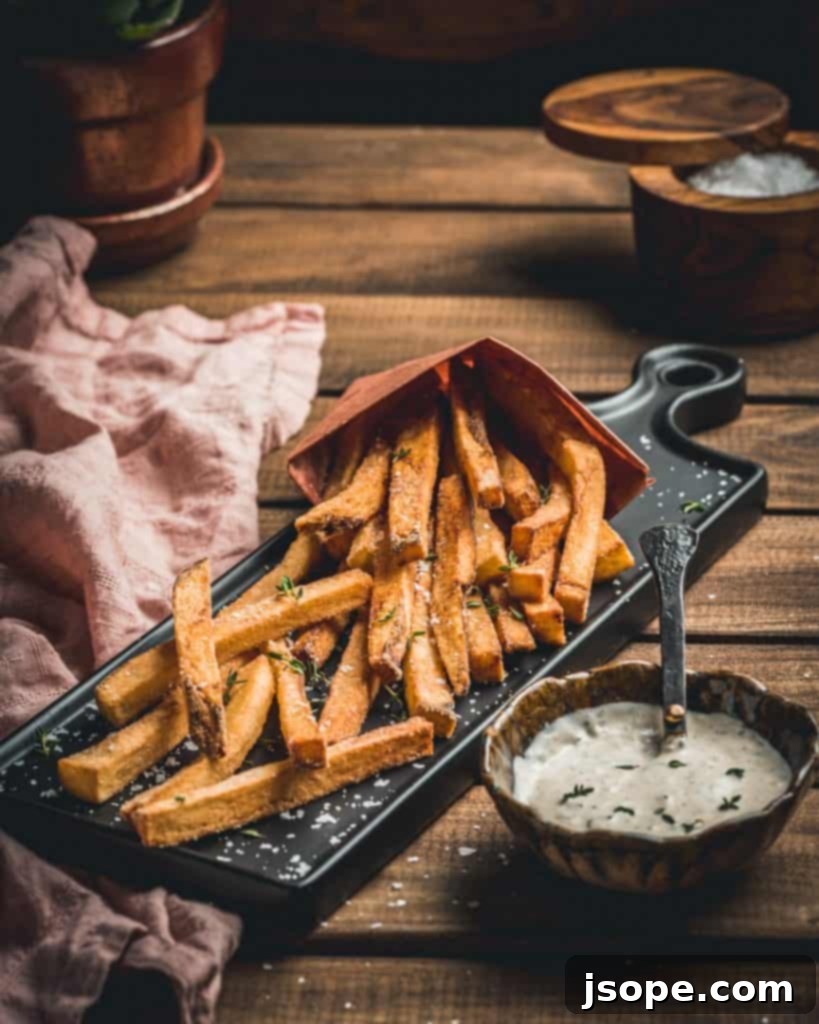
While the double-fry technique ensures unparalleled texture, the seasoning is what truly transforms these into irresistible Homemade Garlic Fries. For this recipe, we’ve partnered with Veggie Season’s, whose exceptional blends take the flavor profile to extraordinary heights. Their seasonings are specifically designed to adhere beautifully to freshly cooked vegetables and fries, ensuring a burst of flavor in every bite.
We’ve personally experimented with several of Veggie Season’s blends on our homemade fries, and while they were all fantastic, the **Roasted Garlic Butter** seasoning emerged as the perfect match for this particular recipe. Its rich, savory, and aromatic notes of slow-roasted garlic combined with creamy butter essence perfectly complement the natural sweetness of the potato and provide an incredibly satisfying flavor.
However, Veggie Season’s offers a diverse lineup of six unique blends, each promising a different culinary adventure for your fries or other dishes:
- Roasted Garlic Butter: Our top recommendation for this recipe, offering deep, savory garlic and buttery notes.
- Parmesan Herb: A delightful blend of salty Parmesan and aromatic Italian herbs, perfect for a Mediterranean twist.
- Sharp Cheddar: For cheese lovers, this blend delivers a tangy, savory cheddar flavor that’s fantastic on fries, popcorn, or roasted vegetables.
- Spicy Herb: If you crave a kick, this blend adds a vibrant, herbaceous heat to your fries.
- Red Pepper Cajun: A bold and zesty blend with a smoky heat that’s ideal for a Southern-inspired flavor profile.
- Farmhouse Ranch: A classic, creamy, and tangy ranch flavor that’s universally loved.
Don’t limit yourself to fries! These versatile seasonings can elevate a multitude of dishes. Explore some of our other recipes featuring Veggie Season’s blends:
- Farmhouse Ranch Smashed Potatoes
- Spicy Cajun Roasted Cauliflower
You can discover all of Veggie Season’s incredible flavors HERE. And as a special treat, use the promocode COOKINGWITHWINE40 for a fantastic 40% off orders over $15!
The Ultimate Dipping Companion: Lemony Herb Garlic Aioli
While our Homemade Garlic Fries are phenomenal on their own, a truly exceptional dipping sauce can take them from great to unforgettable. In Belgium, the birthplace of fries, mayonnaise is traditionally the condiment of choice. However, we encourage you to choose your favorite and let these incredible fries be the star of the show.
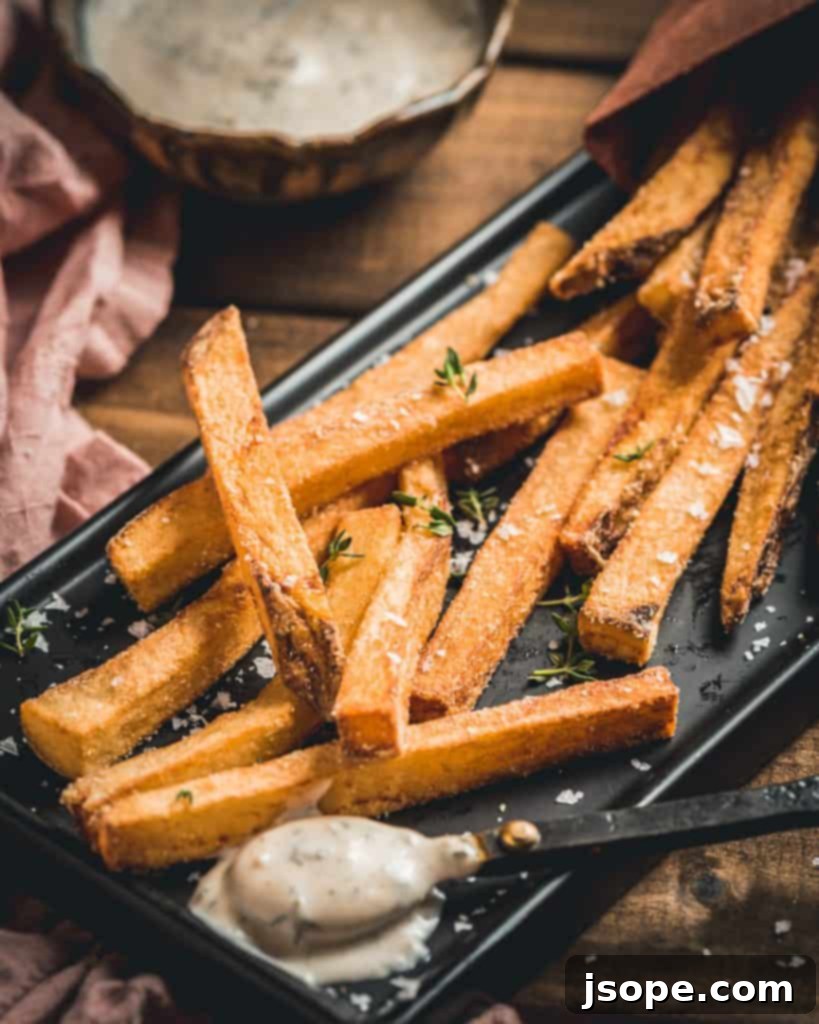
To truly elevate these Homemade Garlic Fries to their peak potential, we love to pair them with our vibrant and creamy **Lemony Herb Garlic Aioli**. This isn’t just any aioli; it’s a meticulously crafted blend of rich mayonnaise, pungent minced garlic, bright lemon juice, aromatic lemon zest, and a medley of fresh chopped herbs. The result is a sauce that is simultaneously creamy, tangy, savory, and herbaceous – a perfect counterpoint to the crispy, garlicky fries. The acidity from the lemon cuts through the richness of the fried potatoes, while the fresh herbs add an extra layer of complexity that makes each bite incredibly satisfying. It’s an easy addition that makes a huge impact.
Find the full recipe for this irresistible aioli below in the recipe card, and prepare to be amazed by how it transforms your homemade fry experience!
We genuinely hope you enjoy this detailed recipe for Homemade Garlic Fries and their perfect companion, the Lemony Herb Garlic Aioli! If you give it a try, please share your experience by leaving us a comment below or by tagging us on Instagram @cooking_with_wine! We love seeing your culinary creations!
If you’re a fan of flavorful and satisfying recipes, be sure to explore some of our other popular creations below:
- Chili Cheese Burgers
- Spicy Grilled Watermelon Salad
- Spicy Cajun Roasted Cauliflower
- Peppercorn Crusted Steak with Brandy Cream Sauce
- Juicy Lucy Cowgirl Cheeseburger
- Passion Fruit Cocktails
📖 Recipe

Homemade Garlic Fries
Pin Recipe
15 minutes
10 minutes
25 minutes
Appetizers, Side Dishes
American
4
servings
300
kcal
Ingredients
Garlic Fries
-
1
quart
Grapeseed oil – or your favorite deep frying oil - 3 Large russet (Idaho) potatoes – skins removed, sliced into ¼ inch sticks
- 1-2 tablespoon garlic seasoning of choice (we use Veggie Season’s Roasted Garlic Butter Seasoning)
- Fine grain sea salt and pepper (to taste)
Lemony Herb Garlic Aioli
- ¾ cup mayonnaise
-
1
tablespoon
minced garlic (approx 2 cloves) -
2
tablespoon
lemon juice -
1
teaspoon
lemon zest (approx 1 small lemon’s worth) -
1
tablespoon
chopped herbs (e.g., rosemary, oregano, thyme, parsley) - pinch of salt
- cracked black pepper to taste
Instructions
- Heat oil to 320-325° F (160-163° C) in a deep fryer or a large pot (cast iron preferred if this is the method) big enough so that you can get the oil at least 4″ or so deep. The oil should be no more than halfway up the sides of the pot as you don’t want this to overflow onto your stovetop! Use a kitchen thermometer to ensure precise temperature.
- As the oil heats, prepare your dipping sauce if desired by mixing all ingredients from the Lemony Herb Garlic Aioli section in a bowl. Place in fridge until ready to serve with your fries.
- Carefully add about a handful of thoroughly dried fries to the hot oil. Avoid overcrowding the pot; you will likely make about 3-4 batches or more depending on how many potatoes you have. Allow to fry for 5-7 minutes. The fries should have the slightest bit of pale color on them, appearing cooked but not “browned” or crispy. The exact time may vary, so once they reach this stage, remove them from the oil using a spider spatula, tongs, or a slotted spoon. Place fries on paper towels or a cooling rack with a sheet pan beneath to drain. Repeat for all remaining potato batches, continuously monitoring the oil temperature to keep it between 320°-325° F (160-163° C). The blanched potatoes can sit for minutes or up to an hour before you proceed with the second and final fry.
- For the final fry, increase the oil temperature to 370-375° F (188-191° C). Once at temperature, carefully add the blanched fries to the oil in small batches, just like the first fry, while you monitor and keep the heat steady between 370°-375° F (188-191° C). The second fry will probably take around 2-3 minutes, but trust your eyes to tell you when they’re done. You want a beautiful golden-brown and crisp exterior.
- Once your fries are perfectly golden and crispy, remove them carefully from the oil and place them briefly on a towel or cooling rack to drain (no more than 30 seconds). Immediately transfer the hot fries to a large bowl, add your chosen garlic seasoning (like Veggie Season’s Roasted Garlic Butter Seasoning), and toss thoroughly to evenly coat the fries.
- Once all fries are done and seasoned, serve immediately with the Lemony Herb Garlic Aioli or your dipping sauce of choice. Enjoy your perfectly homemade garlic fries!
Notes
Nutrition
Calories:
300
kcal
Tried this recipe?
Let us know how it was!
