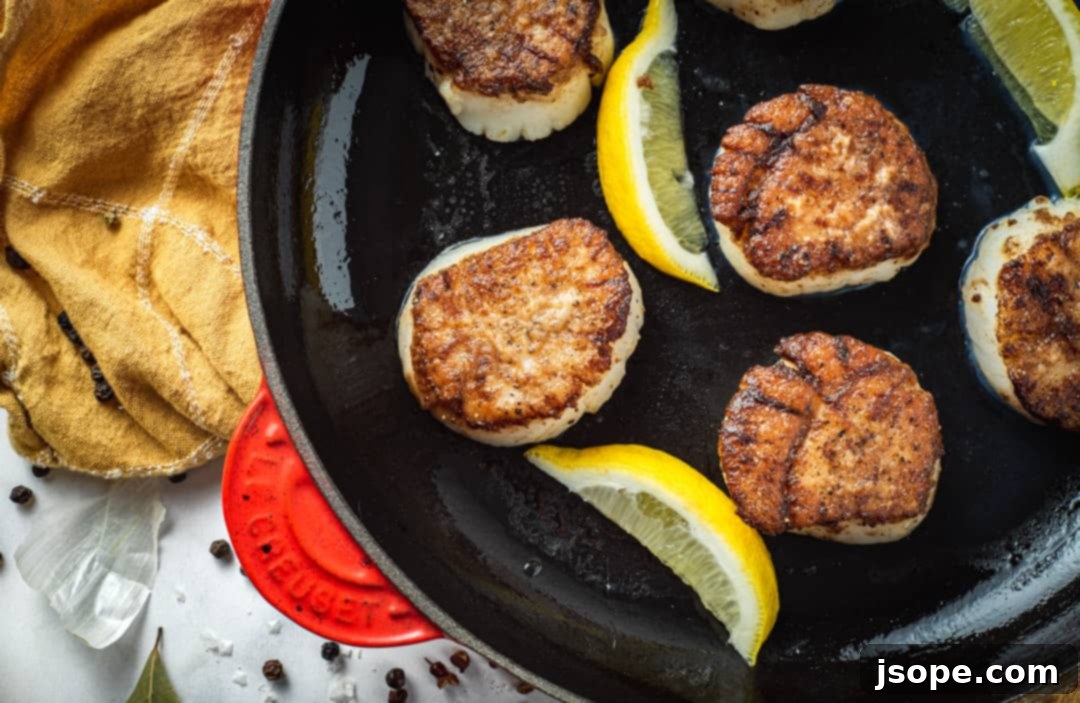
Unlock the secrets to perfectly seared scallops – tender, sweet, and exquisitely caramelized every time!
Mastering the Art of Pan-Seared Scallops: Your Ultimate Guide
For many home cooks, the idea of pan-searing scallops can feel daunting. Visions of rubbery textures, bland flavors, and lack of that coveted golden crust often deter even seasoned kitchen enthusiasts. You invest in beautiful, fresh scallops, only to worry they might not turn out restaurant-quality. This guide aims to demystify the process, transforming your scallop-searing experience from intimidating to incredibly rewarding. Prepare to achieve that perfect, buttery-soft interior and delightful, lightly crunchy exterior that holds all the sweet, oceanic flavor everyone craves.
If you’re already a scallop aficionado or are about to become one, explore some of our other favorite scallop-infused dishes:
- Creamy Pesto Pasta with Seared Scallops
- Seared Scallop Pasta with Vanilla Grapefruit Cream Sauce
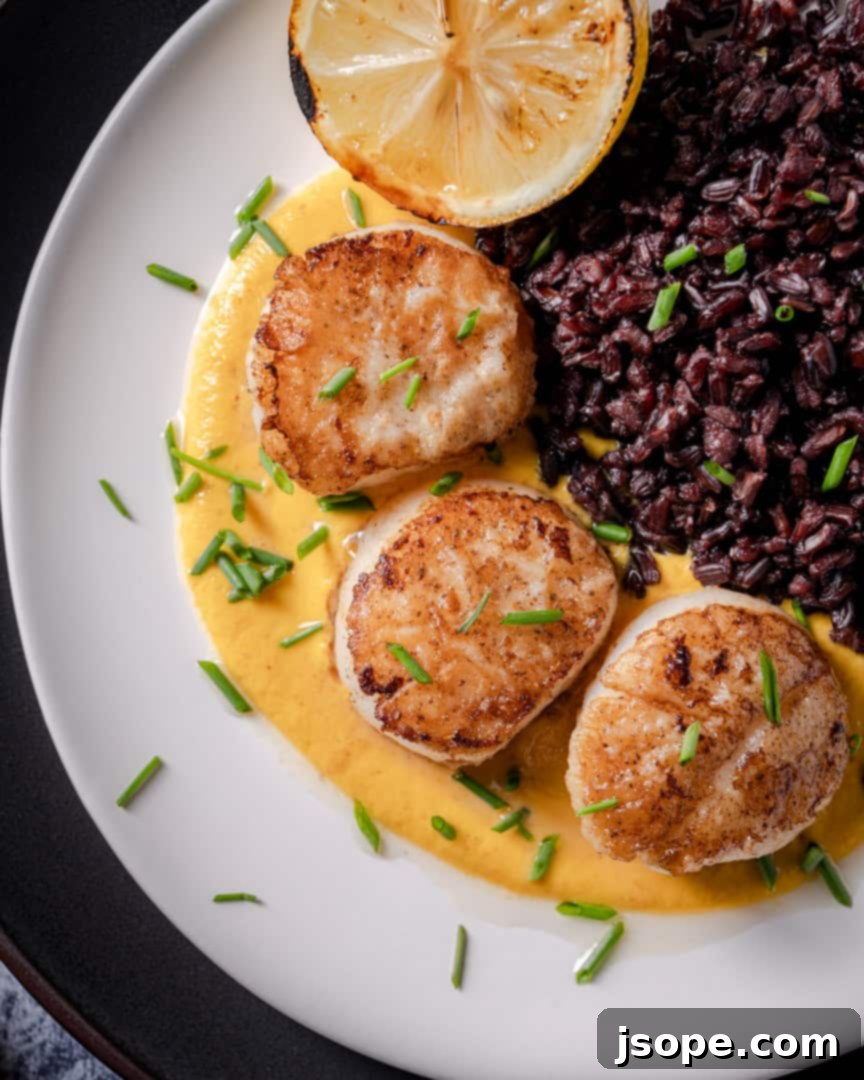
- Scallops with Golden Romesco Sauce and Black Rice
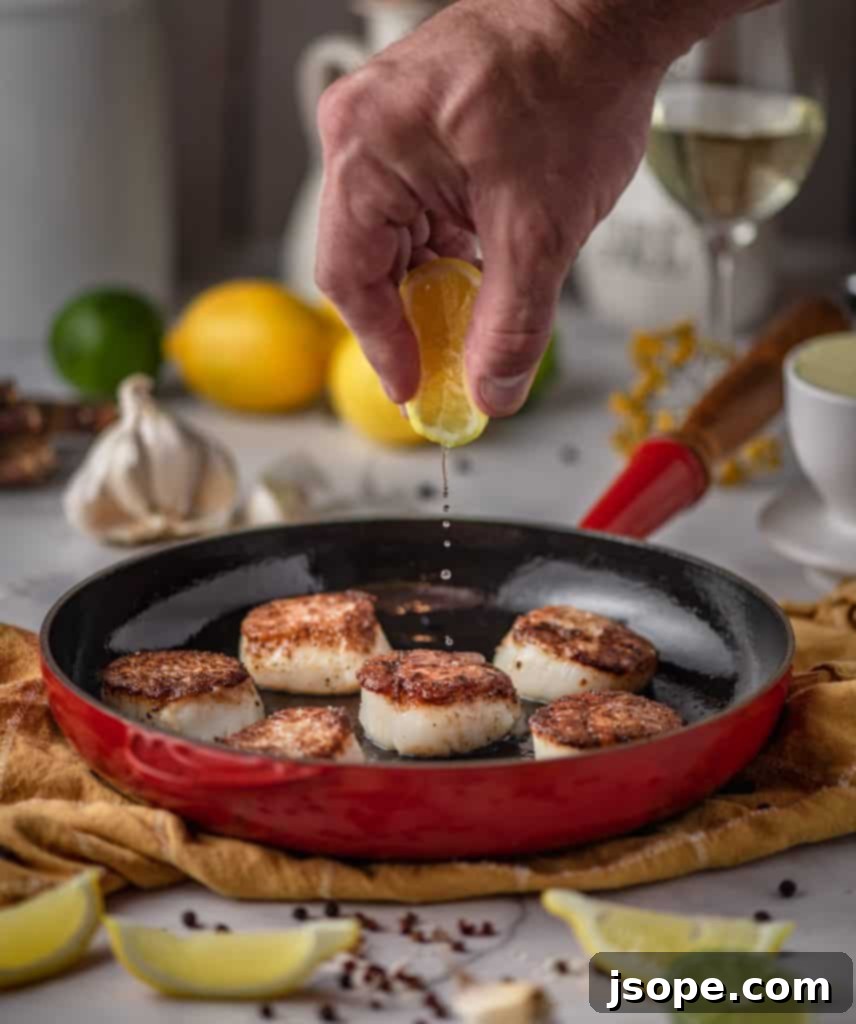
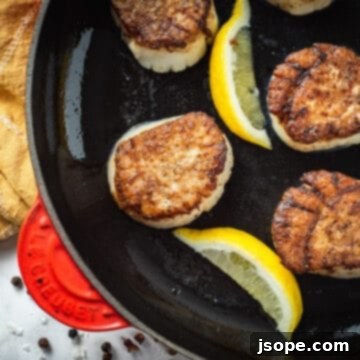
That stunning photo undoubtedly has you eager to jump straight to the cooking. Patience, fellow food lover! While the allure of perfectly seared scallops is strong, understanding the fundamentals of selection and preparation will elevate your results exponentially. Before we dive into the sizzling pan, let’s explore the crucial first step: choosing the right scallops. (Or, if you simply can’t wait, feel free to scroll down to our detailed recipe card!)
Choosing the Best Scallops: A Foundation for Flavor
The journey to an exceptional pan-seared scallop starts long before it hits the heat. It begins at the fish counter, where quality can make or break your dish. Don’t settle for anything less than fresh, high-quality scallops. Here are some essential tips and answers to frequently asked questions about buying scallops:
How to Identify Fresh Scallops at Your Market
The simplest and most reliable method is to engage with your fishmonger. Ask them directly when the scallops were received. A reputable store will provide an honest answer. Ideally, you want scallops that are no more than one or two days old. If they’ve been sitting longer, inquire about their next shipment and perhaps plan another meal for the evening. Freshness is paramount for achieving that sweet, delicate flavor profile.
Fresh vs. Frozen Scallops: What’s the Best Choice?
Whenever possible, prioritize fresh, never-frozen scallops. Their texture and flavor are superior. However, if fresh options aren’t available, frozen can be a viable alternative, provided you choose wisely. Look for scallops that were “flash-frozen” or individually quick frozen (IQF). Crucially, avoid “wet” scallops – those treated with sodium tripolyphosphate (STP) to preserve them and increase their water content. This chemical treatment makes them absorb more water, leading to a duller flavor, a tougher texture when cooked, and a much harder time achieving a proper sear due to the excess moisture. Opt for “dry” scallops, which haven’t been treated and will sear beautifully. You can delve deeper into the distinctions between “wet” and “dry” scallops here.
Understanding Scallop Varieties: Which Type is Best?
Scallops come in various types, but for pan-searing, we highly recommend diver scallops. These are typically larger, meatier, and boast a cleaner, sweeter flavor compared to farmed varieties. Diver scallops are hand-harvested by divers, which is often considered a more sustainable and less impactful method on the ocean floor. While smaller bay scallops are delicious in certain applications like seafood stews or cioppino, their diminutive size makes them prone to overcooking and challenging to achieve a perfect sear for a standalone dish. Stick to the larger, more robust sea or diver scallops for pan-searing perfection.
What Color Should a Scallop Be?
The color of fresh scallops can range from a milky white to a light, creamy beige, and even a delicate coral pink. This color variation is entirely natural and usually relates to whether the scallop is male (whiter) or female (pinker) during its spawning period. It does not indicate a difference in taste or quality. However, a dull, grayish, or discolored scallop is a tell-tale sign of age or poor handling. Always avoid scallops that appear discolored or lack a vibrant, fresh hue.
Should Scallops Have a “Fishy” Smell?
Absolutely not! A truly fresh scallop should have a clean, subtly sweet, and ocean-like aroma, reminiscent of a fresh sea breeze. It should never smell overtly “fishy,” strong, or pungent. If the smell makes you recoil or seems off in any way, trust your instincts and do not purchase or consume them. A “fishy” odor indicates spoilage and can lead to an unpleasant dining experience, or worse.
Achieving the Perfect Sear: A Step-by-Step Culinary Guide
Now that you’ve selected premium scallops, it’s time for the exhilarating part: the cooking! Follow these steps carefully to ensure a remarkable sear and an incredibly tender interior.
Step 1: Rinse and Dry Thoroughly
Begin by gently rinsing your scallops under cold running water. This helps remove any lingering grit or shell fragments. The most critical step for a perfect sear follows immediately: drying. Pat each scallop meticulously dry with paper towels. You want them as moisture-free as possible. Any residual water on the surface will create steam when it hits the hot pan, preventing the Maillard reaction (the browning that creates that delicious crust) and resulting in a steamed, rather than seared, scallop. Never soak scallops, as this simply adds more moisture.
Step 2: Remove the Abductor Muscle
Inspect each scallop for a small, tough, crescent-shaped muscle on its side. This is the abductor muscle, and it’s quite chewy when cooked. It will easily pull off with your fingers. While it’s edible, removing it ensures a consistently tender texture throughout the scallop. As a bonus, your feline friends will certainly appreciate this little treat!
Step 3: Seasoning for Enhanced Flavor
Lightly season both flat sides of your scallops with salt and freshly ground black pepper. Remember, salt is a flavor enhancer, not a flavor unto itself. A gentle touch is all that’s needed to bring out the scallop’s natural sweetness. You can always add a pinch of finishing salt at the end for an extra pop of savory goodness. Consider high-quality finishing salts like this one or this gourmet option to elevate the dish.
Step 4: Heating Your Pan and Choosing Your Fat
Select your preferred nonstick skillet (we highly recommend high-quality nonstick pans for consistent results) and heat it over high heat. The pan must be screaming hot to achieve a proper, beautiful sear. While cast iron can get extremely hot, it sometimes risks sticking, and stainless steel can be unforgiving if not perfectly seasoned or if scallops are not thoroughly dry. For beginners and consistent results, a good nonstick pan is your best friend. Add a tablespoon of unsalted butter to the hot pan and let it melt until it begins to brown and smells nutty. This brown butter will impart a wonderful depth of flavor. You only need enough fat to lightly coat the pan, ensuring the scallops don’t stick.
If you prefer using olive oil or another high-smoke-point oil instead of butter, check out this recipe for Cast Iron Scallops, which provides alternatives.
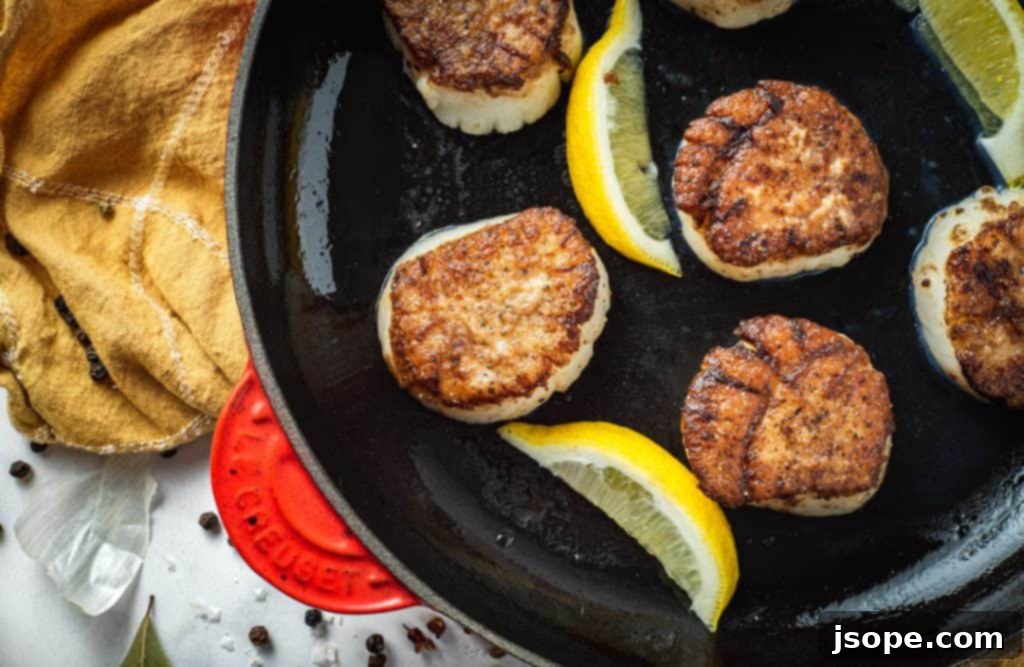
Top Tip: The Secret to that Irresistible Golden Crust
This is where the magic happens! Carefully place your seasoned, dried scallops into the very hot pan, ensuring they are not overcrowded (cook in batches if necessary to maintain pan temperature). Cook them for 60-90 seconds per side, completely undisturbed. Do not move them, poke them, or peek underneath. This undisturbed cooking time is crucial for developing that gorgeous, deeply caramelized crust. This timing is ideal for thick, large scallops (approximately 1 inch thick) and will result in a perfectly medium-rare doneness with a translucent, opaque center – our preferred way to enjoy them. Beyond two minutes of total cooking time per side, scallops can quickly transition from tender to rubbery, so be vigilant and avoid overcooking at all costs!
Scallops cook incredibly fast, so ensure all your side dishes are prepared and ready before you start searing. Serve your perfectly seared scallops immediately, perhaps with a squeeze of fresh lemon to brighten the flavors and a final sprinkle of finishing salt to taste. The contrast of the hot, sweet scallop with a touch of citrus is truly divine.
Frequently Asked Questions About Searing Scallops
For optimum tenderness and flavor, scallops are best cooked until they reach an internal temperature of 115°F (46°C). Due to their relatively small size, this typically takes only about 1-2 minutes per side for thick, large scallops (around 1 inch thick). Remember, carryover cooking will cause the temperature to rise another 10-15°F (5-8°C) once removed from the heat, bringing them to a perfect final internal temperature of 125-130°F (52-54°C), as recommended by culinary experts like America’s Test Kitchen. This ensures a beautifully tender and moist scallop.
Achieving the perfect sear hinges on three key factors:
- Dryness: Pat your scallops extremely dry with paper towels. Excess moisture is the enemy of a good sear, as it will steam the scallops rather than caramelize them.
- High Heat: Ensure your pan is very hot before adding the scallops. This creates an immediate crust and prevents the scallops from sticking.
- Don’t Touch: Once placed in the pan, resist the urge to move or flip the scallops for at least 60-90 seconds per side. This undisturbed cooking time allows the Maillard reaction to occur, forming that irresistible golden-brown crust.
Both butter and oil can be used, and each offers unique advantages. Cooking scallops in butter imparts a rich, nutty flavor, especially when the butter is allowed to lightly brown before adding the scallops. The main consideration with butter is its lower smoke point, meaning it can burn quickly at high temperatures. However, for many, the brown butter flavor is a desirable outcome. If you prefer a more neutral flavor or are concerned about butter burning, a high-smoke-point oil like grapeseed oil, avocado oil, or clarified butter (ghee) are excellent alternatives. You can also use a combination of butter and oil to get the best of both worlds – the flavor of butter with the higher smoke point protection of oil.
Yes, you can use frozen scallops, but ensure they are “dry” (untreated) and thawed properly. To thaw, place them in a single layer in the refrigerator overnight. If you’re short on time, you can place them in a sealed bag under cold running water for about 30 minutes. The absolute most important step is to pat them *extremely* dry with paper towels after thawing to remove all surface moisture, as this is critical for achieving a good sear.
Seared scallops pair wonderfully with a variety of light and fresh sides that complement their delicate flavor. Consider serving them with a simple lemon-butter pasta, a fresh green salad with a light vinaigrette, asparagus, creamy risotto, roasted vegetables like broccoli or Brussels sprouts, or even a flavorful cauliflower purée. The key is to choose sides that won’t overpower the scallops but rather enhance their natural sweetness.
Enjoy Your Perfectly Seared Scallops!
We hope this comprehensive guide empowers you to cook restaurant-quality pan-seared scallops right in your own kitchen. There’s nothing quite like the satisfaction of serving a dish that looks as incredible as it tastes. If you try this recipe for Perfectly Seared Scallops, we’d love to hear about your experience! Please share your thoughts in the comments below, and don’t hesitate to tag us on Instagram (@cooking_with_wine) so we can celebrate your culinary success!
Looking for more delicious seafood recipes to expand your repertoire?
- Spicy Ginger Garlic Shrimp Skewers
- Blackened Garlic Shrimp Tacos with Cilantro Cream Sauce
- Delicious Red Snapper Amandine
- Cajun Crab Cakes: Bring the Heat
📖 Recipe: Perfectly Seared Scallops
Perfectly Seared Scallops
Learn how to master the perfect sear for scallops with our incredibly easy-to-follow recipe, ensuring a sweet, tender interior and a beautiful golden crust every time.
Pin Recipe
5 minutes
3 minutes
8 minutes
Dinner
American
4 servings
86 kcal
Ingredients
- 14-16 large “dry” Scallops
- 2 tablespoon unsalted butter (or high-smoke-point oil)
- Salt, to taste
- Freshly ground black pepper, to taste
- Lemon wedges, for serving
- Finishing salt (optional, for garnish)
Instructions
- Gently rinse the scallops under cold water and then pat them thoroughly dry with paper towels. Ensure all surface moisture is removed for the best sear. Remove the small abductor muscle if present.
- Lightly season both flat sides of the scallops with salt and freshly ground black pepper.
- Place a nonstick pan (or a well-seasoned cast iron skillet) over high heat. Add the unsalted butter (or oil) and let it melt until it starts to brown slightly and smells nutty. The pan should be very hot before the scallops are added.
- Carefully place the scallops in the hot pan, ensuring not to overcrowd it (cook in batches if necessary). Cook for 60-90 seconds per side, completely undisturbed. This timing is for thick, large scallops (about 1 inch) and will result in a medium-rare doneness with an opaque center. Be mindful not to overcook, as scallops can become rubbery quickly after 3 minutes of total cooking time.
- Serve immediately with fresh lemon wedges for a touch of citrus, and sprinkle with finishing salt to taste if desired.
Nutrition
Carbohydrates: 2g
Protein: 6g
Fat: 6g
Saturated Fat: 4g
Polyunsaturated Fat: 0.3g
Monounsaturated Fat: 1g
Trans Fat: 0.2g
Cholesterol: 28mg
Sodium: 207mg
Potassium: 109mg
Sugar: 0.01g
Vitamin A: 177IU
Calcium: 5mg
Iron: 0.2mg
Tried this recipe?
Let us know how it was!
