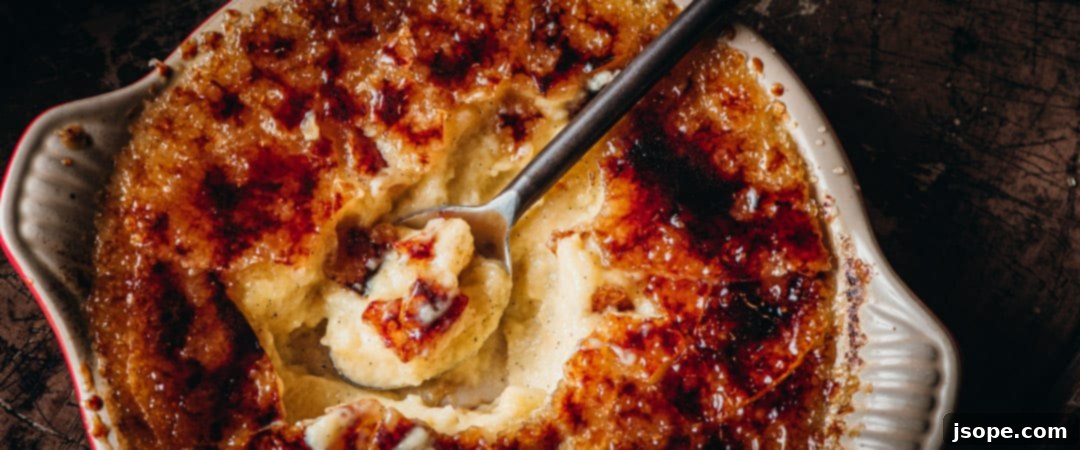
Often perceived as a dessert reserved for professional chefs or those with advanced culinary skills, the classic Crème Brûlée, with its captivating caramelized sugar crust and creamy custard interior, actually hides a delightful secret: it’s surprisingly simple to master at home. Forget the intimidation factor; with this recipe, you’ll discover that creating this elegant French delicacy is not only achievable but also incredibly rewarding. The key to its signature crackable top is typically a kitchen torch, transforming granulated sugar into a brittle, golden glass. However, don’t despair if you don’t own one – alternative methods can still yield a wonderfully caramelized surface, ensuring you can still impress your guests without the specialized equipment.
This Vanilla Bean Crème Brûlée recipe promises a luxurious dessert experience that will elevate any meal, yet demands minimal effort from the home cook. The beauty of its simplicity lies in a few fundamental techniques that, once understood, unlock a world of velvety smooth custard and that satisfying *crack!* when you break through the sugar shell. Get ready to transform basic ingredients into a show-stopping dessert that tastes like a labor of love, but won’t leave you feeling exhausted. This isn’t just a recipe; it’s an invitation to conquer a classic with confidence and style.
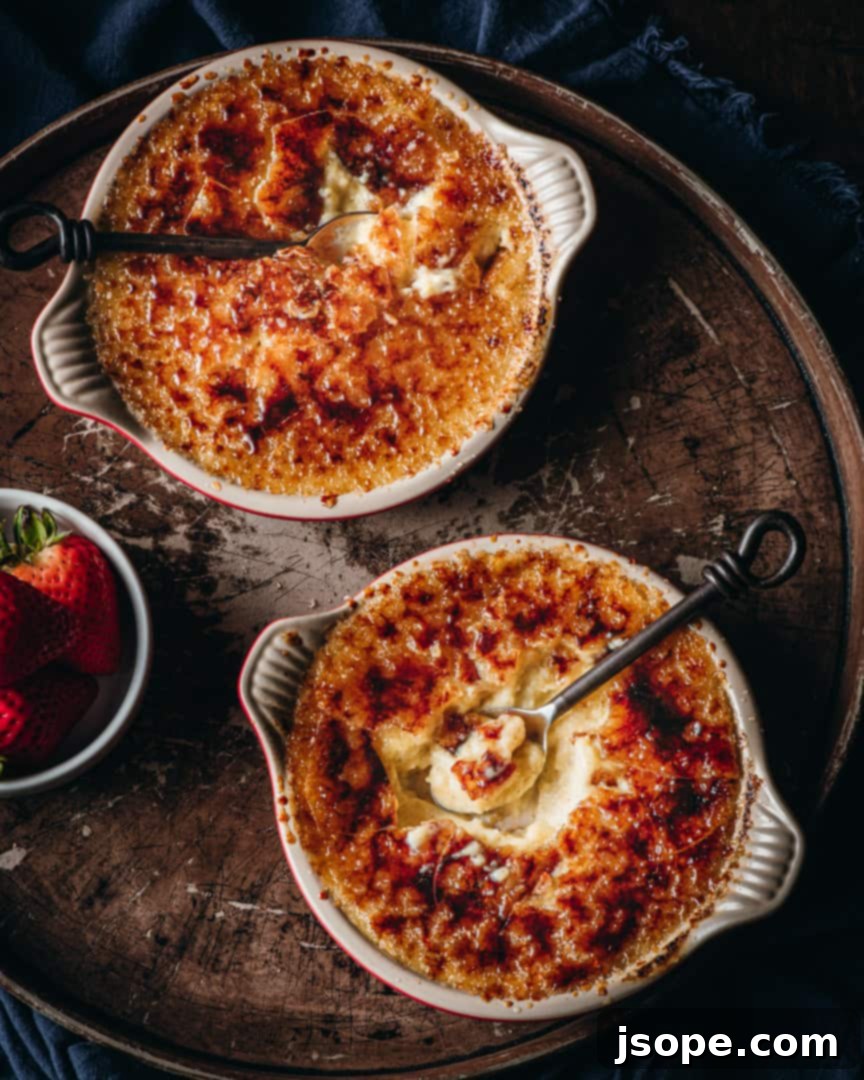
The Indispensable Kitchen Torch: Or Its Alternatives
The quest for the perfect Crème Brûlée often leads to one central question: Is a kitchen torch truly necessary? While it’s not strictly mandatory, embracing a kitchen torch will undeniably elevate your Crème Brûlée experience, delivering a superior result that is difficult to replicate with other methods. The primary advantage of a culinary torch is its ability to deliver precise, intense heat exactly where it’s needed – directly onto the sugar crystals. This focused heat ensures an even caramelization across the entire surface, preventing the custard underneath from warming up and maintaining its delightful chill.
Without a torch, the most common alternative is the broiler method. This involves placing the Crème Brûlées under a preheated broiler for a short period, typically 2-5 minutes. While this can caramelize the sugar, it comes with several challenges. Broilers often heat unevenly, leading to some areas of the sugar burning while others remain unset. The radiant heat from the broiler can also warm the custard, compromising its cool, smooth texture. Furthermore, controlling the caramelization process under a broiler requires constant vigilance; a moment of inattention can quickly turn golden sugar into a bitter, burnt mess. For these reasons, a kitchen torch offers unparalleled control, efficiency, and a consistently beautiful, crackable sugar crust. Think of it as a fun, essential tool that not only perfects your Crème Brûlée but also adds a touch of theatrical flair to your kitchen adventures. Indeed, who wouldn’t want to own a versatile kitchen torch for various culinary applications? Here is a highly-rated option for a Kitchen Torch from Sur la Table, often available at a great price!
The Sweet Secret: Choosing the Right Sugar for Crème Brûlées
The caramelized top is arguably the most iconic feature of Crème Brûlée, and achieving that flawless, shattery crust begins with selecting the appropriate sugar. While standard white granulated sugar can certainly be used, opting for superfine sugar will consistently yield a superior brûléed surface. Superfine sugar, also known as caster sugar, has finer crystals that melt more quickly and evenly under the torch’s flame, creating a smoother, more uniform caramel layer. This reduces the risk of burning certain spots while others remain unmelted, ensuring that delightful “glass” texture throughout.
Experimentation is also encouraged! While traditional Crème Brûlée uses white sugar, you can explore the use of light brown sugar or even demerara sugar for a different flavor profile. Brown sugar will impart a subtle molasses note and a slightly deeper caramel flavor, adding another layer of complexity to your dessert. Demerara sugar, with its larger crystals and coarser texture, offers a robust crunch and a slightly more rustic appearance. However, be mindful that using sugar that is too coarse, like very large-grain turbinado sugar, may result in an overly thick surface that can be challenging to caramelize evenly, leaving some areas stubbornly gritty. The goal is a delicate, brittle crust, not a chewy, uneven layer.
If superfine sugar is elusive in your local grocery store, don’t fret! You can easily make your own. Simply place regular granulated sugar in a food processor or a spice grinder and pulse it several times until the crystals are noticeably finer. This simple trick will provide you with the perfect sugar for that pristine, crackable finish.
Crucially, regardless of the type of sugar you choose, ensure you use a sufficient amount to create a distinct, protective layer atop the custard. This sugary barrier is essential not only for texture but also to prevent the heat from your torch or broiler from directly warming the chilled custard beneath. The hallmark of a truly excellent Crème Brûlée is a beautifully solid, caramelized surface paired with a perfectly chilled, silky smooth custard. Striking this balance is what transforms a good dessert into an unforgettable one.
The Essence of Vanilla: Crafting the Perfect Custard
Beyond the sugar crust, the heart of any exceptional Crème Brûlée is its custard. For this Vanilla Bean Crème Brûlée, the choice of vanilla is paramount. Using a whole vanilla bean infuses the heavy cream with an unparalleled depth of flavor and beautiful visual specks, signaling a truly artisanal dessert. To extract the maximum flavor, split the vanilla bean lengthwise with a sharp knife and scrape out the aromatic, sticky pulp. Both the pod and the pulp should be gently heated with the cream and salt, allowing the vanilla to slowly steep and release its complex aromas and flavors. This slow infusion is crucial for developing a rich, nuanced vanilla profile that permeates every spoonful of custard.
While a vanilla bean is highly recommended for its authentic flavor and aesthetic appeal, quality vanilla bean paste or pure vanilla extract can be used as alternatives if a vanilla bean isn’t available. Just ensure you use a good quality product, as the vanilla flavor is central to this dessert. If using extract, add it after the cream has steeped and cooled slightly, to prevent the alcohol from evaporating and diminishing the flavor.
The process of creating the custard involves whisking egg yolks with sugar until they are pale and creamy. The next critical step is tempering the eggs. This technique slowly incorporates the warm vanilla-infused cream into the egg mixture without scrambling the yolks. Gradually whisking in small amounts of the warm cream first, before adding the rest, gently raises the temperature of the eggs, preventing them from cooking too quickly. This results in a smooth, homogenous custard base, free from any lumps or cooked egg bits.
Once the custard is prepared, it’s poured into individual ramekins or Crème Brûlée dishes. These are then baked in a *bain-marie* or water bath. This gentle cooking method is essential for Crème Brûlée. The water bath provides consistent, indirect heat, allowing the custard to set slowly and evenly. This prevents the edges from overcooking and becoming rubbery while the center remains raw. It also minimizes cracking on the surface of the custard, ensuring a smooth canvas for the caramelized sugar.
Baking, Chilling, and the Final Flame
Baking Crème Brûlée to perfection is a visual art. The exact baking time will vary depending on the depth and width of your chosen ramekins. A wider, shallower dish will cook faster than a deeper one. The trick is to look for a custard that is mostly set around the edges but still has a slight, delicate jiggle in the very center when gently shaken. This “jiggle” indicates that the custard is cooked through but remains tender and creamy, not overbaked and firm. Overbaking can lead to a rubbery texture or even curdling, so it’s better to slightly underbake than overbake. Once removed from the oven, the residual heat will continue to cook the custard slightly as it cools.
After a brief cooling period at room temperature, the Crème Brûlées must be thoroughly chilled in the refrigerator for at least 2-3 hours, or preferably longer. This chilling period is crucial for several reasons: it allows the custard to firm up completely, develops its flavors, and ensures it’s perfectly cold before the warm sugar is applied. A cold custard is essential for achieving that delightful contrast with the warm, crackable sugar crust. Properly chilled Crème Brûlées can be covered with plastic wrap and stored in the refrigerator for up to four days, making them an ideal make-ahead dessert for entertaining.
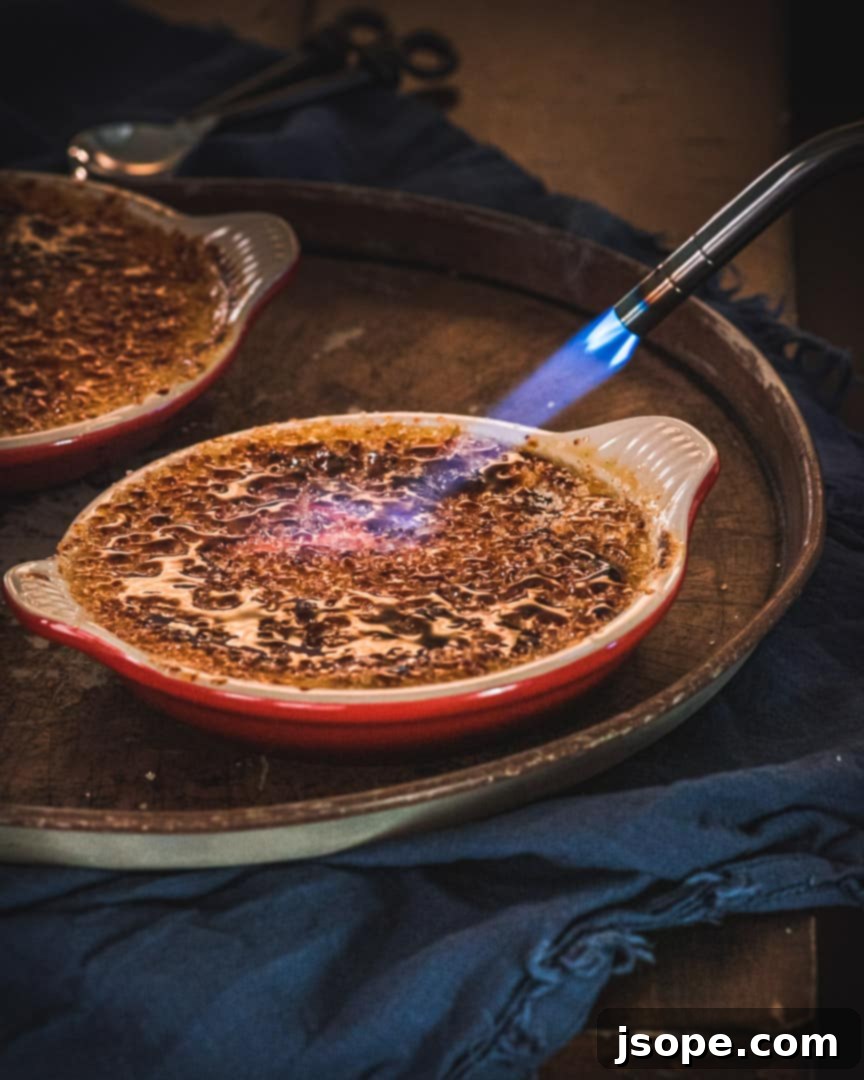
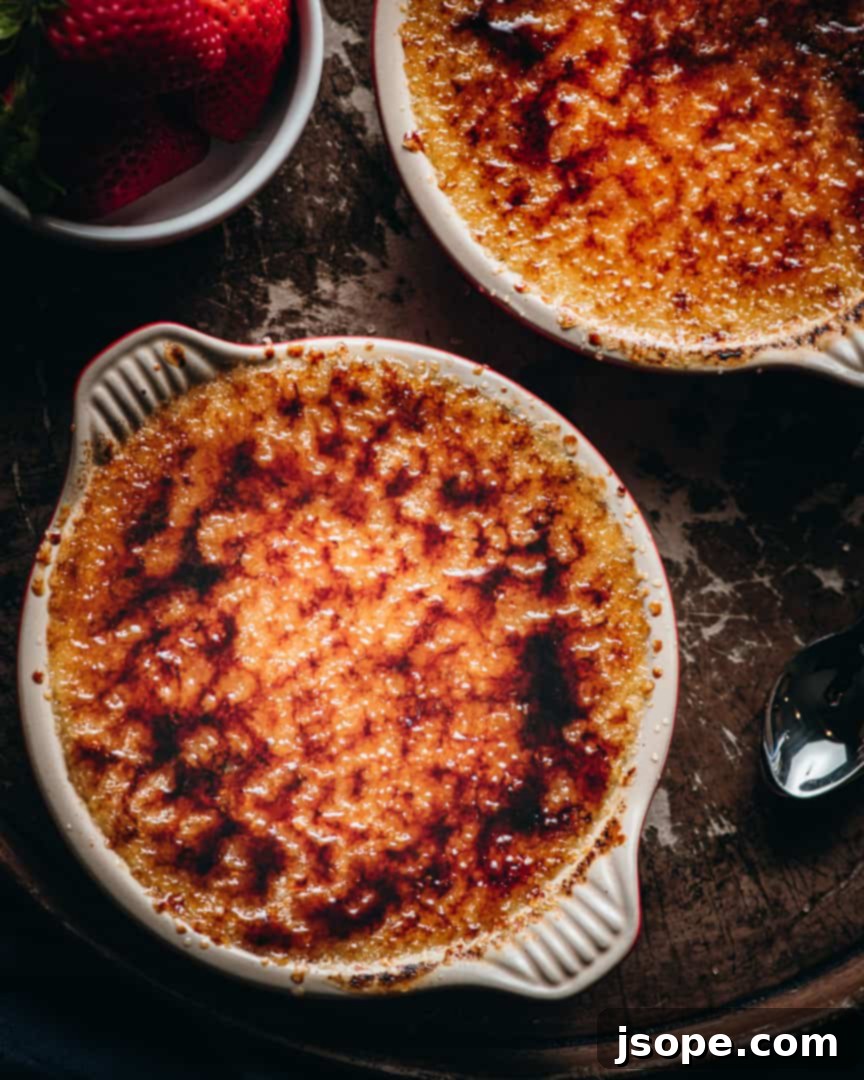
The grand finale is, of course, the caramelization. Just before serving, remove the chilled Crème Brûlées from the refrigerator. Sprinkle an even layer of superfine sugar (about 1-2 tablespoons, depending on the surface area) over each custard. The key to a perfect crust is an even application of sugar. Then, take your kitchen torch and, holding it a few inches away from the surface, move the flame slowly and consistently over the sugar. You’ll watch as the sugar crystals melt, bubble, and transform into a beautiful, amber-colored caramel. Aim for a rich, golden brown color with a few darker spots, indicating deeper caramelization, but avoid burning, which will result in a bitter taste. Ensure all the sugar has melted and caramelized. Allow the Crème Brûlées to rest for a few minutes after torching. This gives the caramel time to harden and form that characteristic brittle crust. Then, serve immediately and enjoy the satisfying crack of the sugar and the creamy delight beneath.
Troubleshooting and Tips for Success
Even seasoned home bakers can encounter small hurdles. If your custard turns out grainy or curdled, it’s likely due to overcooking or not tempering the eggs slowly enough. Ensure your water bath is just simmering, not boiling, and remove the custards from the oven promptly once they achieve the right jiggle. For a perfect caramel crust, ensure the sugar layer is even, and keep the torch moving to prevent localized burning. If your custard is runny, it might need a few more minutes in the oven; remember, every oven and ramekin behaves differently, so visual cues are your best friend.
Always use high-quality heavy cream and fresh eggs for the best flavor and texture. Don’t rush the chilling process – it’s vital for the custard to set properly and to provide that delicious temperature contrast. And finally, always torch the sugar right before serving for the crispiest, most satisfying crust. Preparing Crème Brûlée is not just about following a recipe; it’s about understanding the subtle science behind this classic, allowing you to create a truly memorable dessert every time.
We are confident that this detailed guide and delicious recipe will empower you to create a show-stopping Vanilla Bean Crème Brûlée that will earn rave reviews. If you give it a try, please share your experience and leave us a comment below. We’d also love to see your creations! Tag us on Instagram @cooking_with_wine.
Looking for more dessert inspiration? Check out some of our other popular sweet treats:
- Brown Butter and Pecan Rum Cake
- Meyer Lemon Olive Oil Cake with Bavarian Cream & Raspberry Agrodolce
- Texicali Chocolate Sheet Cake
- White Chocolate Raspberry Bundt Cake
- Brown Butter Cardamom Linzer Cookies with Passion Fruit Jelly
📖 Recipe
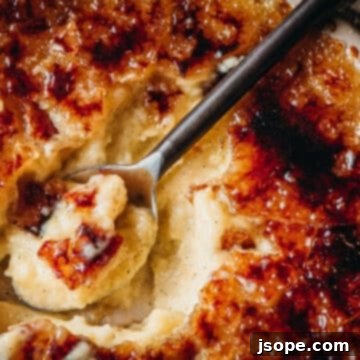
Vanilla Bean Crème Brûlée
Indulge in the ultimate classic French dessert with this remarkably easy-to-follow Vanilla Bean Crème Brûlée recipe. Featuring a luxurious, velvety vanilla custard and a perfectly crackable caramelized sugar crust, this elegant treat is designed to impress your guests without the culinary stress. Perfect for special occasions or a sophisticated everyday indulgence.
Pin Recipe
Ingredients
For the Vanilla Bean Custard:
- 32 oz (4 cups) high-quality heavy cream
- 1 whole vanilla bean, split lengthwise and seeds scraped
- ½ teaspoon fine kosher salt
- 1 teaspoon vanilla bean paste or pure vanilla extract (optional, for intensified vanilla flavor)
- ⅔ cup granulated sugar
- 5 large egg yolks
For the Caramelized Top:
- Superfine sugar (caster sugar or granulated sugar pulsed in a food processor)
Instructions
- **Prepare for Baking:** Preheat your oven to 315°F (157°C). Prepare a large roasting pan or baking dish that can accommodate your ramekins for a water bath (bain-marie).
- **Infuse the Cream:** Carefully split the vanilla bean in half lengthwise using a small, sharp knife. Scrape the fragrant, tiny black seeds (pulp) out of both halves. Place both the vanilla bean pod and the scraped pulp into a medium saucepan. Add the heavy cream and kosher salt. Over medium heat, gently bring the mixture to a very light simmer, stirring frequently to prevent scorching, until small bubbles just begin to form around the edges. Do not bring to a rolling boil. Remove the saucepan from the heat, cover, and allow the vanilla to steep and infuse for at least 5-10 minutes. This allows the vanilla flavor to fully develop. If using vanilla extract or paste, stir it in after this steeping period.
- **Whisk Egg Yolks and Sugar:** While the cream is steeping, in a separate medium bowl, whisk together the egg yolks and the ⅔ cup of granulated sugar. Continue whisking vigorously until the mixture becomes pale yellow, thick, and creamy, and the sugar is well incorporated. This step lightens the yolks and helps dissolve the sugar.
- **Temper the Eggs:** Remove the vanilla bean pod from the cream mixture and discard it. Slowly, and in a thin stream, ladle about ½ cup of the warm cream mixture into the egg yolk mixture while continuously whisking. This crucial step, known as tempering, gradually raises the temperature of the egg yolks, preventing them from scrambling. Continue adding the remaining cream mixture gradually, whisking constantly until everything is smoothly combined.
- **Fill Ramekins:** Carefully pour the tempered custard mixture into your individual Crème Brûlée dishes or ramekins, filling them about ⅔ to ¾ of the way to the top. The filling level should be consistent across all dishes for even baking.
- **Bake in a Water Bath:** Place the filled ramekins into the prepared roasting pan or baking dish. Carefully pour warm (but not boiling) water into the roasting pan, ensuring it comes halfway up the sides of your Crème Brûlée vessels. This creates the essential water bath (bain-marie). Carefully transfer the entire pan to the preheated oven and bake for 20-45 minutes. The baking time will vary based on the size and depth of your dishes. The Crème Brûlées are done when the edges are set and firm, but the center still has a slight, delicate jiggle when gently shaken. A wide and shallow dish will typically bake faster than a deep ramekin. Remove the pan from the oven and carefully lift the Crème Brûlées out of the water bath. Let them cool on a wire rack for about 5 minutes.
- **Chill Thoroughly:** Once slightly cooled, transfer the Crème Brûlées to the refrigerator. Chill them for a minimum of 2-3 hours, or ideally overnight, until they are completely cold and firm. This chilling process is critical for the custard to set properly and to achieve the perfect texture and flavor.
- **Caramelize and Serve:** Once thoroughly chilled, the Crème Brûlées can be covered with plastic wrap and stored in the refrigerator for up to 4 days. When ready to serve, remove them from the refrigerator. Evenly sprinkle about 1-2 tablespoons of superfine sugar over the top of each Crème Brûlée (adjust amount based on the surface area of your dish). Using a kitchen torch (butane or propane culinary torch), gently and continuously move the flame over the sugar until it melts, bubbles, and caramelizes into a beautiful, amber, glassy crust. Aim for a rich golden-brown color with a few darker spots, ensuring all the sugar is melted. Avoid burning it to prevent a bitter taste. Let the caramelized Crème Brûlées rest for a few minutes to allow the sugar to harden and form that iconic crackable shell. Serve immediately and enjoy!
