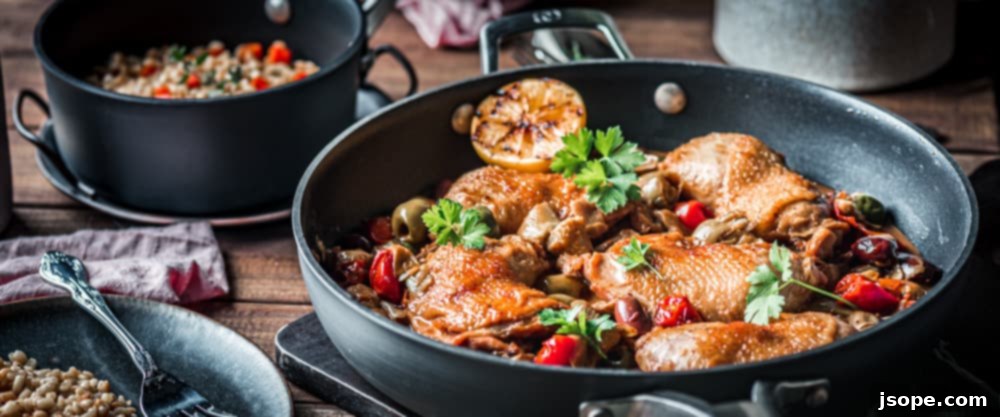
Please note: This post has been sponsored by Calphalon. All opinions are our own.
Exquisite Olive and Artichoke Braised Chicken with Hearty Barley Pilaf
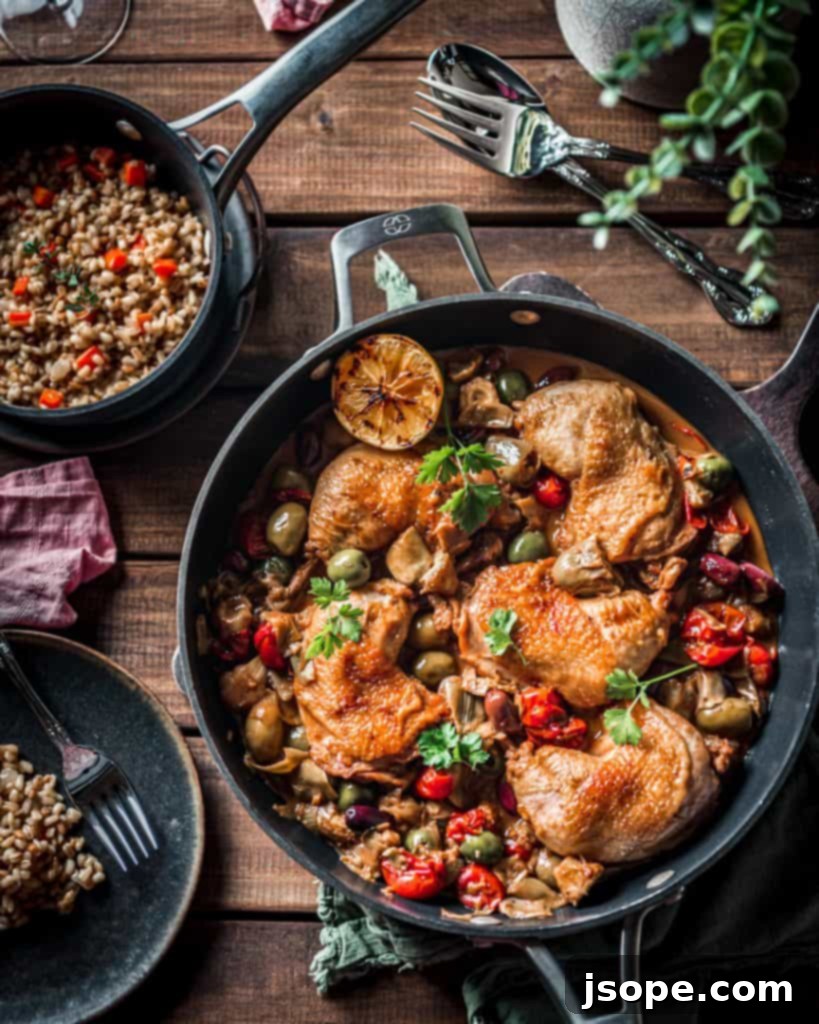
Prepare to embark on a culinary journey that will delight your senses and satisfy your soul. This Olive and Artichoke Braised Chicken is a masterpiece of flavors, where tender, succulent chicken is infused with the vibrant essences of Mediterranean olives and earthy artichokes. It’s a dish designed to bring immense joy to any dinner table, transforming a simple meal into an extraordinary dining experience. When perfectly paired with our wholesome Barley Pilaf, you’ll discover a harmonious blend of textures and tastes that the entire family will wholeheartedly adore.
The beauty of this recipe lies not only in its profound flavor but also in its accessibility. While the results are undeniably gourmet, the techniques involved are straightforward, making it an ideal choice for both seasoned home cooks and those looking to expand their culinary repertoire. Let’s dive into the details of creating this unforgettable dish.
Mastering the Art of Braising Chicken: A Technique for Unforgettable Flavor
Braising is an age-old cooking technique revered by chefs and home cooks alike for its ability to transform humble ingredients into dishes rich in flavor and tender texture. It’s a culinary art form that marries two distinct cooking methods: dry heat and wet heat. The process typically begins with searing the meat at a high temperature, creating a deeply caramelized, flavorful crust through the Maillard reaction. This initial step is crucial for building a robust foundation of taste.
Following the sear, the chicken is partially submerged in a flavorful liquid – in this case, a rich sauce brimming with aromatic ingredients – and then slowly cooked at a lower temperature, often in an oven. This gentle, moist heat cooking allows the chicken to become incredibly tender and juicy, while simultaneously absorbing all the exquisite flavors from the surrounding liquid. The magic of braising means that the sauce itself becomes an integral part of the dish, becoming concentrated and intensely flavorful, ready to be drizzled generously over the finished chicken. This method is a game-changer for chicken, which, when cooked plainly, can sometimes lack depth. Braising ensures every bite is packed with deliciousness.
Expert Tips for Crafting Your Perfect Olive and Artichoke Braised Chicken
While braising is an inherently forgiving technique, we’ve incorporated a few extra touches into this specific recipe to elevate it from simply delicious to truly exceptional. These thoughtful steps ensure maximum flavor and an unparalleled dining experience.
Achieving the Coveted Crispy Skin: A Culinary Delight
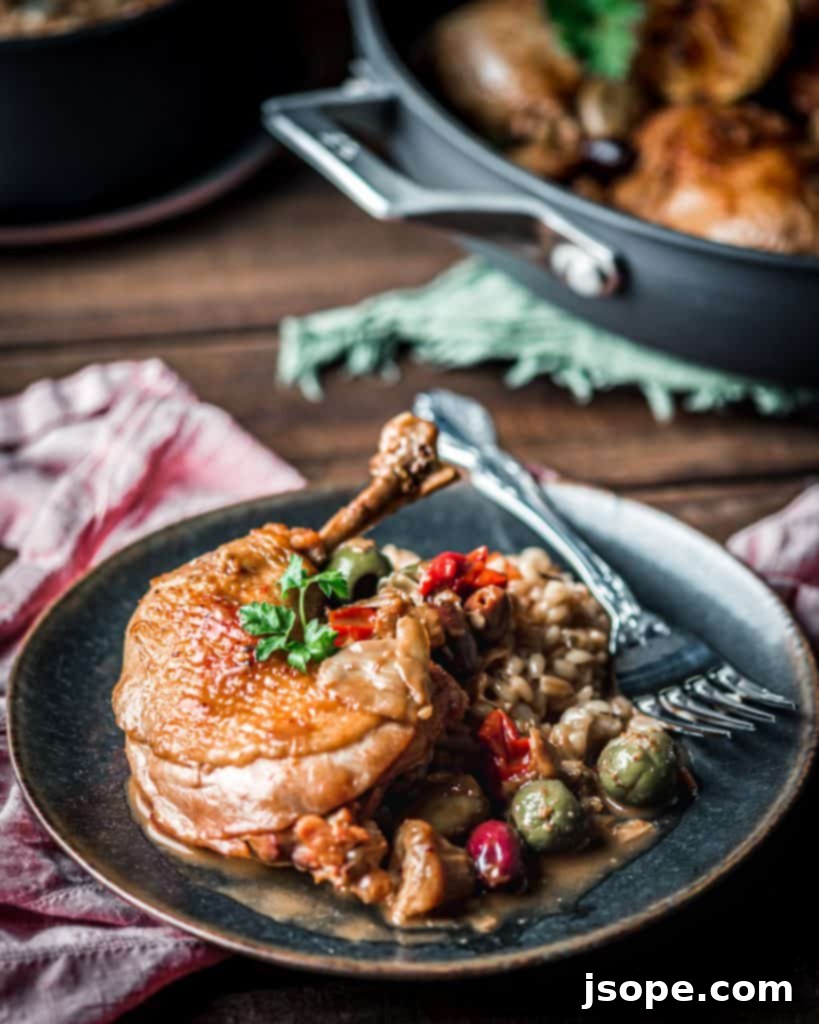
Let’s talk about chicken skin. For many, it’s a forgotten or often discarded part of the chicken, usually because of unpleasant experiences with soggy, rubbery, or overly fatty versions. But we believe that perfectly rendered, golden-crisp chicken skin is one of life’s true culinary pleasures. When done right, it adds an irresistible texture and an explosion of savory flavor to any chicken dish. This recipe is designed to help you achieve that magical, crispy skin every single time!
Initiate with a Powerful Sear!
The journey to crispy chicken skin begins long before the braising liquid is added. Searing the chicken vigorously in a hot pan is your first and most critical step. This high-heat exposure not only kickstarts the browning process, developing incredible depth of flavor on the skin and meat through the Maillard reaction, but it also helps render some of the fat. This initial sear creates a robust, browned surface that, while it will soften during the braising process as it absorbs the flavorful liquids, provides a crucial head start for the final crisping stage. Without this initial sear, you’re missing out on a significant layer of flavor and texture development.
Temporarily Remove Chicken to Perfect the Sauce
Once the chicken has undergone its braising magic, becoming incredibly tender and infused with flavor, it’s time for a strategic intermission. We recommend gently removing the chicken from the pan and setting it aside while you work on reducing the sauce. This crucial step serves multiple purposes. Firstly, it prevents the chicken from overcooking and drying out while the sauce simmers and thickens. Secondly, reducing the sauce concentrates its flavors, intensifying the aromatic notes of the wine, brandy, olives, and artichokes. This allows you to achieve the perfect consistency and flavor profile for your sauce, ensuring it’s rich and decadent. Finally, removing the chicken provides the ideal opportunity to prepare the pan for the ultimate crispy skin finish, which we’ll discuss next.
It’s vital to remember that a delicious sauce should never be used to mask dry, overcooked chicken. Instead, our goal is to build an extraordinary sauce that perfectly complements an already perfectly cooked, moist, and tender piece of chicken. By building layers of flavor with purpose, you elevate this dish from an ordinary chicken meal to a four-star culinary experience, all without excessive effort.
The Grand Finale: Broil Skin-Side-Up Just Before Serving
With your magnificent sauce reduced to its ideal, concentrated state, it’s time for the crowning glory: bringing that skin back to its glorious, crispy perfection. Gently return the chicken pieces to the pan, ensuring they are skin-side-up and nestled beautifully within the rich sauce. Then, place the entire oven-safe pan directly into a super-hot oven. We typically set our oven to broil, but position the pan on the middle rack. This setup allows for intense, direct heat to crisp the skin without placing it so close to the heating element that it risks burning.
You’ll only need a short burst of heat – typically just 2-3 minutes – for the skin to transform, turning golden brown and developing an appetizing bubbly texture. Keep a watchful eye and trust your senses; the aroma and visual cues will guide you. Avoid over-browning or allowing it to smoke. Once achieved, you’ll be rewarded with delightfully crisp and incredibly flavorful chicken skin, providing a textural contrast that perfectly enhances the tender meat, luxurious sauce, and wholesome barley pilaf. It’s a simple yet highly effective concept that completes the dish beautifully.
Unlocking Deep Flavor: The Secrets to an Irresistible Sauce
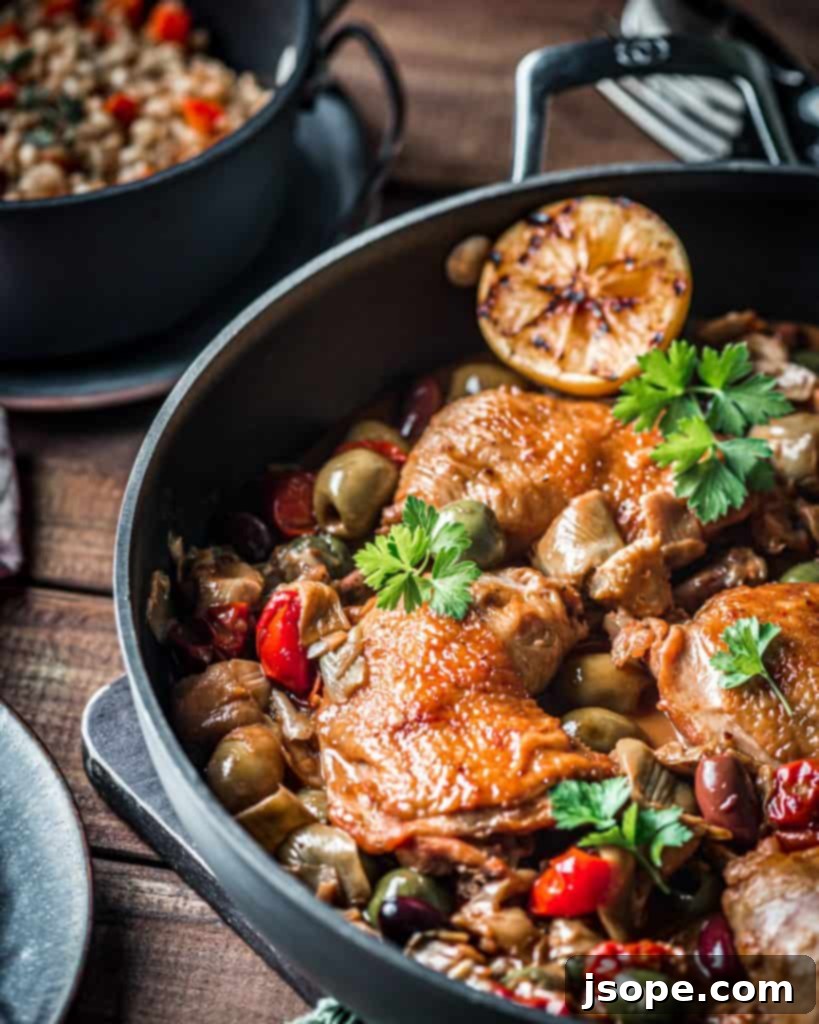
Now that you’re armed with the techniques for impeccably crispy chicken skin, let’s shift our focus to the heart of this dish: the profoundly flavorful sauce. This is where a significant amount of the magic happens, transforming a simple braise into a truly gourmet experience.
One of our most cherished methods for infusing deep complexity into our sauces is the strategic use of wine or other spirits during cooking. For this particular Olive and Artichoke Braised Chicken, we’ve gone all out, incorporating a trifecta of sophisticated spirits: dry white wine, rich port, and aromatic brandy! This unique combination layers acidity, sweetness, and a subtle warmth, creating a sauce that is truly multi-dimensional and utterly captivating. Consider this your lucky day, as these additions provide a depth of flavor that is simply unmatched.
A dramatic yet incredibly effective technique, flambéing, plays a significant role in developing the profound flavors of this sauce. If the idea of flambéing seems daunting, please don’t be intimidated. While it does involve intentionally igniting alcohol in your kitchen – a moment that certainly commands respect and caution – it is a controlled process that yields remarkable culinary benefits. Beyond the visual spectacle, flambéing quickly burns off the harsh alcohol content, leaving behind the rich, concentrated flavors of the spirit and promoting delicious caramelization, which adds an incredible depth and warmth to the sauce.
By carefully following our tips below, you’ll find that flambéing is much more accessible than it appears. It’s a technique that adds a professional touch and an explosion of flavor. But, and we cannot stress this enough, **fire is inherently hot and poses a burn risk if not handled with extreme care.** Always prioritize safety when attempting to flambé any dish.
Indispensable Tips for Safe and Successful Flambéing
- **Choose the Right Pan:** Opt for a pan with high, rounded sides and a long handle to provide a safe distance from the flames.
- **Measure with Precision:** Always measure your brandy or other alcohol into a separate container first. **NEVER pour directly from the bottle** into a hot pan, as the flame could travel up the stream of liquid into the bottle.
- **Remove from Heat:** Before adding the alcohol, temporarily remove the pan from the direct heat source.
- **Optimal Pan Temperature:** Ensure your pan is hot enough to vaporize the alcohol but not so hot that it’s smoking, which could cause immediate ignition and uncontrolled flames.
- **Ventilation is Key:** If you have a range hood vent fan, turn it on. If not, move your pan to an open counter space, far away from any flammable materials, curtains, or overhead cabinets.
- **Maintain Distance:** Never lean over the pan while adding the alcohol or igniting it. Keep your face and body a safe distance away.
- **Have a Lid Ready:** Always keep a snug-fitting lid nearby. If the flames persist for longer than 15-20 seconds or become unmanageable, simply cover the pan to quickly extinguish the fire.
- **No Distractions:** And certainly, do not hold a small child or pet while attempting this! Exercise complete focus and caution.
You can flambé with almost any spirit that has a sufficient alcohol content to ignite. The primary objective is to rapidly burn off the raw alcohol, thereby concentrating and leaving behind the rich, nuanced flavors of the spirit, which impart a unique complexity to your sauce.
The Perfect Companion: Don’t Overlook the Nutritious Barley Pilaf!
While the Olive and Artichoke Braised Chicken is undoubtedly the star, its supporting act, the Barley Pilaf, is equally impressive and essential for a complete, satisfying meal. Many individuals are familiar with barley in various forms, perhaps in soups or stews, or even in beverages like beer or whisky. However, for those who haven’t experienced barley prepared as a pilaf, you’re in for a delightful surprise. This method showcases the grain’s wonderful texture and nutty flavor, making it an excellent alternative to more common side dishes.
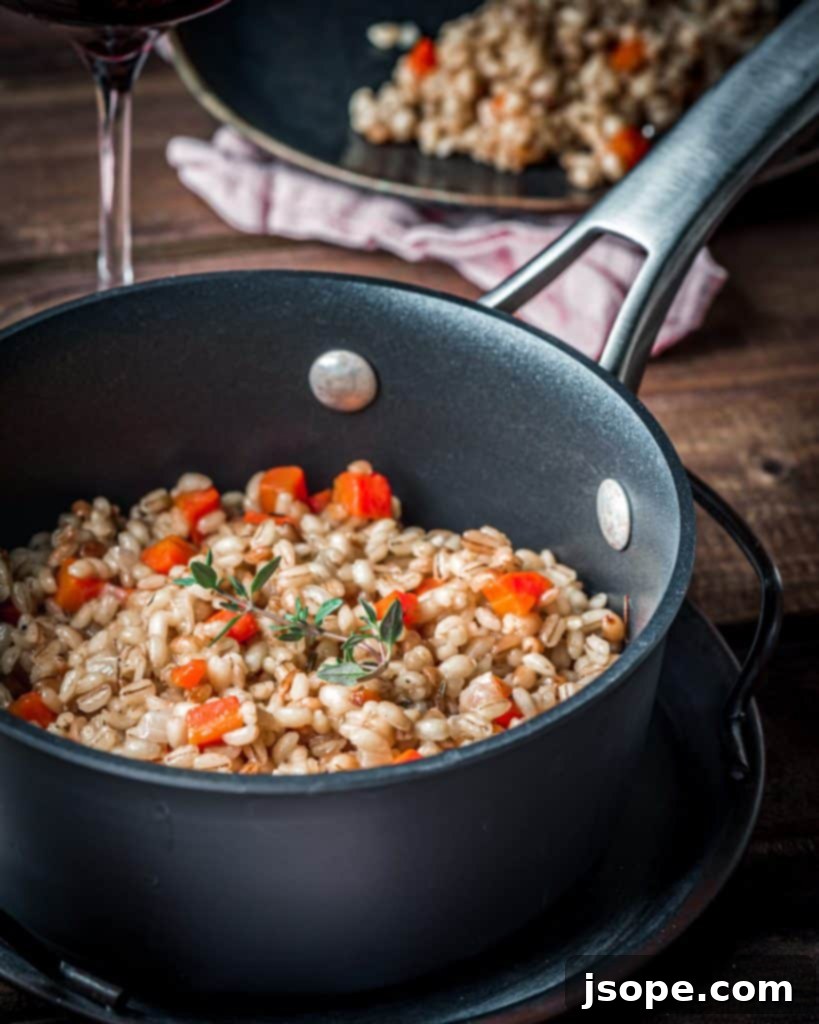
This recipe employs a basic pilaf technique, but we execute it on the stovetop rather than in the oven, offering greater control and convenience. For this, a high-quality nonstick saucepan is ideal (we recommend the Calphalon PremierTM2.5 qt Sauce Pan with lid). If you’re accustomed to making risotto, you’ll notice familiar initial steps. The key to a truly flavorful pilaf is building flavor from the very beginning.
By sautéing the pearl barley in butter alongside aromatic vegetables like carrots and onions before introducing any hot liquid, you enable the grain to absorb a foundational layer of rich, buttery goodness. Barley is remarkably thirsty, eager to soak up any liquid it encounters. When that initial liquid is flavor-infused butter from sautéed aromatics, the result is a deeply satisfying, savory essence locked within each grain, even before the chicken stock is added to complete the cooking process. This methodical approach ensures that your barley pilaf isn’t just a plain side dish but a captivating component of the meal.
We prepare this barley pilaf frequently, and it consistently earns rave reviews. The combination of the hearty, flavorful barley with the succulent Olive and Artichoke Braised Chicken creates a truly killer combo of flavors and textures that will leave everyone at the table thoroughly impressed and satisfied.
A Word on Our Trusted Cookware: Calphalon Excellence
We are absolutely delighted to announce our recent collaboration as part of the Calphalon Ambassador team! This partnership allows us to genuinely share our favorite Calphalon cookware items with you, not just in this post but in many more culinary adventures to come. For instance, in creating this magnificent Olive and Artichoke Braised Chicken and Barley Pilaf meal, we relied extensively on several pieces from the Calphalon Premier™ Hard-Anodized Nonstick 11-Piece Cookware Set.
Having explored almost every type of cookware available on the market, we can confidently attest to the exceptional durability, superior performance, and incredible versatility of this particular set. It allowed us to execute every step of this intricate recipe flawlessly, from the initial high-heat searing of the chicken to the gentle simmering of the pilaf, without needing to switch to any other specialized pots or pans. The nonstick surface made cleanup a breeze, a true blessing when preparing a multi-component meal.
If you’ve been a long-time follower of our culinary journey, you know our commitment: we only recommend products that we genuinely love, use, and trust in our own kitchen. The Calphalon Premier™ set meets all these criteria and exceeds expectations. So, if you’re considering upgrading your kitchen arsenal or seeking reliable, high-performing cookware, we enthusiastically invite you to head over to Calphalon and explore this fantastic set. It’s an investment that will elevate your cooking experience for years to come.
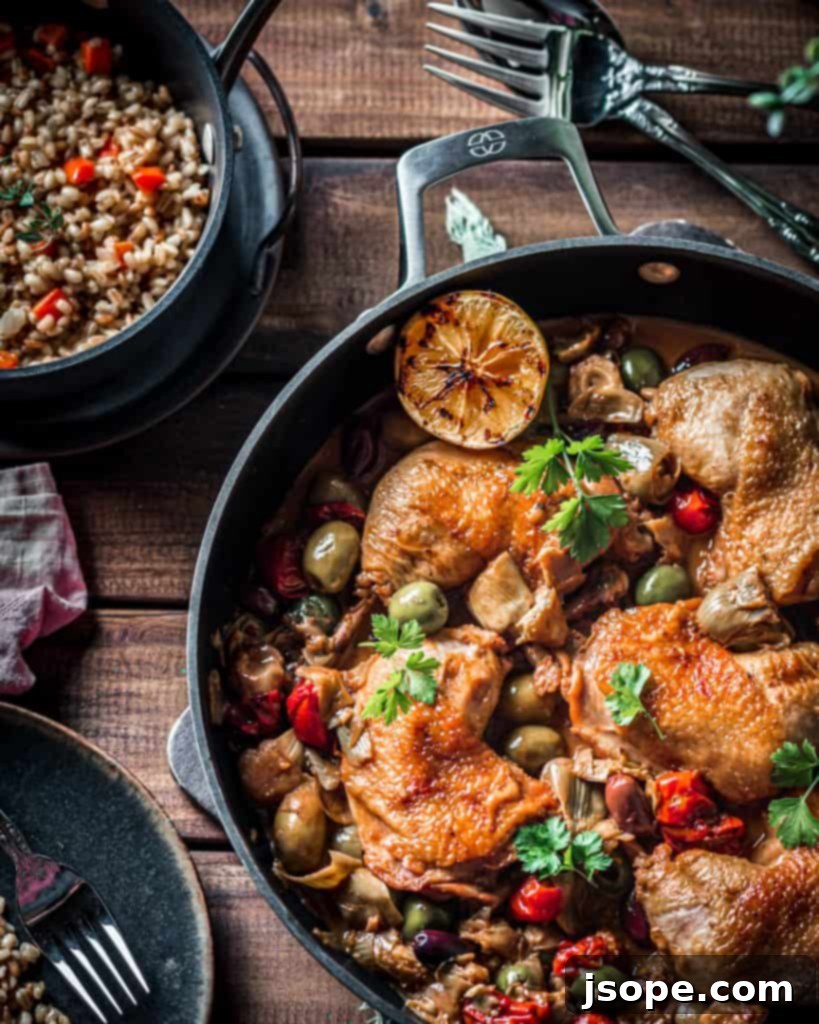
Savor Every Bite!
We sincerely hope you cherish preparing and enjoying this recipe for Olive and Artichoke Braised Chicken with Barley Pilaf as much as we do. It’s a dish that embodies comfort, elegance, and deep, satisfying flavors. If you decide to give this recipe a try, please don’t hesitate to share your experience by leaving us a rating and a comment below. We love hearing from you! You can also tag us on Instagram @cooking_with_wine to show us your culinary creations.
If this recipe sparked your interest, we invite you to explore some of our other popular and equally delicious recipes below, each designed to bring joy and incredible taste to your kitchen:
- Crunchy Chicken with White Wine Lemon Butter Sauce
- Coq au Vin – Classic Chicken in Red Wine
- Goat Cheese, Spinach, Basil and Prosciutto Quiche
- Summer Pasta (Pasta D’Estate)
- The Best Homemade Shrimp Scampi Recipe
📖 Recipe

Olive and Artichoke Braised Chicken with Barley Pilaf
Prep Time: 20 mins
Cook Time: 35 mins
Total Time: 55 mins
Course: Main
Cuisine: American
Servings: 4 servings
Calories: 300 kcal
Ingredients
For the Chicken
- 4 cups beef stock/broth, reduced in a saucepan down to 2 cups
- Chicken Hindquarters (Leg and Thigh, skin on and bone in)
- 1 tablespoon kosher salt
- 2 teaspoon ground white pepper
- ¼ cup olive or vegetable oil (50 g), enough to coat your pan
- 1 shallot – minced
- 1 garlic clove – minced
- 1 oz brandy (30g)
- 1 oz port wine (30g)
- 4 oz dry white wine (115g)
- Cherry tomatoes (about 185g or 6.5 oz)
- 1 cup (160g) pitted olives – mixed varieties or your favorite
- 1 ½ cup baby or small artichoke hearts (240g)
- 1 lemon – sliced in thirds
For the Barley Pilaf
- 1 ½ cups Pearl Barley (325g)
- ⅓ cup butter (80 g)
- 1 medium carrot (70g) medium diced
- ⅔ cup chopped onion (100 g)
- 24 oz chicken stock (680 g)
- 1 bay leaf
- 4 parsley stems
- 3 thyme sprigs
- Salt and pepper to taste
- 2 tablespoon butter (40 g)
Get ingredients with Walmart
Instructions
REDUCE STOCK AND PREP INGREDIENTS
- Put the 4 cups of beef stock in a saucepan over high heat and reduce by ½. Meanwhile, prep the rest of your ingredients. This will take about 15-20 minutes.
SEAR THE CHICKEN
- Preheat the oven to 350ºF.
- Season your chicken with salt and pepper on both sides. Heat the oil in a large oven-safe pan to fit the chicken over medium high heat. Add the chicken and brown on both sides – about 2-3 minutes a side.
- Once the chicken has browned on both sides, turn the heat down to medium low and remove the chicken and drain off the excess oil – only leaving a small amount left in the pan.
- Add the shallots to the pan for about 30 seconds to sweat and then add the garlic for 15 seconds. Stir and then add the chicken back into the pan skin side up.
FLAMBÈ THE CHICKEN WITH BRANDY
- Put the stock in a saucepan over medium high heat to warm – just get the temperature to warm/hot). Once the chicken is added back, heat the pan back to medium high for 1 minute.
- Once hot, remove from heat and carefully add the brandy (SEE NOTES IN POST FOR SAFTY TIPS). Light with a long lighter and flambé without moving the pan. Once the flame is extinguished (approximately 10-15 seconds), shake the pan to make sure there isn’t any more brandy to ignite.
ADD WINE AND REDUCE
- Return the pan to medium high heat and add the port and wine. Cook for about 5 minutes until the wine and port have reduced by about half and the alcohol smell is gone. This may take more or less time depending on how hot your stove is and the shape of your pan.
START THE BARLEY
- While the sauce reduces, start the barley.
- Rinse the barley in water to remove the “dust.” Add the stock, bay leaf, parsley stems and thyme to a saucepan and heat to a simmer.
- Meanwhile, in another medium nonstick skillet, heat over medium heat and then add the butter. Once the butter has melted, add the carrots and sauté until they are almost tender but have just a little firmness in the center. Add the onion and cook with the carrots until translucent. Add the barley to the pan with the carrots and stir to completely to coat the barley with butter. Turn the heat to medium low and cook for about 5-8 minutes so the barley absorbs some butter.
- Strain the chicken stock into the pan with the barley and add some salt and pepper. Cover and cook for about 20 minutes on the stove on medium low. Check after 15 minutes to make sure your barley isn’t too dry – if so add a little water and stir. After 20 minutes, add the remaining butter, taste for doneness and seasoning and adjust as needed. It should have a tender bite to it, but not be hard or completely mushy.
COOK THE CHICKEN IN THE OVEN
- To the pan with the chicken, add the tomatoes, olives, artichokes, three lemon pieces and the warmed stock – just enough to come to the top of the chicken without covering the skin.
- Bring the chicken and contents to a boil and immediately remove from the heat, cover and put into the preheated oven for about 20 minutes. Remove and take the temperature of the chicken with a probe thermometer. Once the temperature reaches 157-160ºF, remove from the oven. The final step in this recipe will bring the chicken to the perfect temperature (it needs to be at least 165ºF) without being dry and overcooked.
REDUCE THE SAUCE AND FINISH
- Remove the chicken from the sauce onto a plate and set aside.
- Put the sauce on medium high heat on the stove and reduce further by another ⅓ or so. Your goal here is to thicken the sauce a bit and intensify the flavors (this will take about 5 minutes).
- Once you have the sauce reduced, remove from the heat and let sit for 3 minutes. Add the butter, 1 tablespoon at a time stirring it in thoroughly.
- Turn your oven to broil and make sure your rack is in the middle of the oven. Add the chicken back into the pan and put the whole thing in the oven for a few minutes to crisp the skin and warm the dish. Carefully remove the pan (obviously the handle will be hot) and serve with the barley pilaf.
Nutrition
Calories: 300 kcal
Let us know how it was!
